Don't miss our new customer offer - up to 8% OFF! ( Code: kineo8off )

ADV Wheel Maintenance for Long-Distance Touring: Complete Guide

Your wheels are the only thing between you and whatever surface you’re riding across. Sounds obvious. But it’s easy to forget when you’re planning a two-week tour through Patagonia or a month crossing Morocco.
Proper wheel maintenance prevents breakdowns. Simple as that. And breakdowns on adventure tours aren’t like breakdowns at home. You might be 200 kilometers from the nearest town. Maybe further. A loose spoke that you ignored becomes a broken spoke that becomes a damaged rim that ends your trip.
Long-distance ADV riding puts unique stress on wheels. You’re carrying luggage. Maybe a passenger. You’re transitioning between highway miles and rocky trails. Water crossings. Sand. Dust that gets into everything.
Both tubeless spoked wheels and traditional tube-type wheels need attention. Different attention, but attention nonetheless. Tubeless spoked technology like Kineo’s system has changed the game for touring reliability. Fewer catastrophic failures. Easier repairs in the field. But they’re not maintenance-free.
Here’s what I’ve learned about keeping wheels reliable across thousands of touring kilometers. The stuff that actually matters when you’re far from home and counting on your bike to get you back.
Understanding ADV Wheel Types and Maintenance Requirements
Adventure bikes come with different wheel types. Each has different strengths. Each has different maintenance needs for long-distance touring.
Knowing what you’re working with determines how you care for it.
Tubeless Spoked Wheels: The Modern ADV Standard
Tubeless spoked wheels combine the best of both worlds. Spoked wheel durability and compliance with tubeless tire convenience.
Kineo’s proprietary sealing system is the technology that makes this work. The rim is sealed so air doesn’t escape through spoke holes. You run tubeless tires directly on the rim. No tubes involved.
Benefits for touring are significant. No tube failures. Ever. That alone changes the reliability equation. A puncture doesn’t mean immediate deflation. You can often ride to a safe stopping point with a slow leak.
Puncture repair is simple. Plug kit, done. Same as any tubeless tire on a car. Pull out the nail, insert the plug, inflate, keep riding. No wrestling with tire levers to access a tube.
Reduced maintenance compared to traditional spoked wheels. You still need to check spoke tension periodically. Still need to keep them clean. But you’re not dealing with tube-related issues on top of everything else.
Kineo wheels carry TÜV approval. They’re built to handle the loads and stresses of serious ADV touring. Italian manufacturing with proper engineering behind the design.
For riders doing serious long-distance touring, tubeless spoked wheels from Kineo are worth considering. The reliability advantage is real.
Traditional Spoked Wheels with Tubes
Traditional spoked wheels with tubes remain common. Many bikes come this way from the factory.
Maintenance requirements are higher. Spoke tension checks become more critical because loose spokes can cause the tube to chafe against spoke nipples. That chafing causes punctures. From inside. Hard to diagnose.
Tube replacement is something to consider before and during tours. Tubes age. They can develop porosity or weakness over time. Starting a major tour with fresh tubes makes sense.
Carrying spare tubes is essentially mandatory. At least one front, one rear. You can patch a tube in the field, but replacement is faster and more reliable. Patches can fail.
Benefits exist though. Flexibility and impact absorption for off-road sections. Spoked wheels handle impacts better than cast wheels. The spokes flex, absorb energy, protect the rim.
More maintenance-intensive overall. But repairable in the field with basic tools and skills. That matters in remote areas where a shop might be days away.
Cast Alloy Wheels
Cast wheels exist on some adventure bikes. Mostly the road-biased ones.
Lower maintenance is the main advantage. No spokes to check. Easier to clean. Just wipe down and inspect for cracks.
But they’re less suitable for serious off-road touring. Cast wheels don’t flex like spoked wheels. They crack instead. A rock impact that would just bend a spoke might crack a cast rim. And you can’t field-repair a cracked cast wheel.
Most serious ADV touring uses spoked wheels for good reason. Durability in unpredictable conditions. Repairability when things go wrong.
Cast wheels work fine for adventure-styled bikes that stay mostly on pavement. But that’s not really long-distance ADV touring in my book.
Pre-Trip Wheel Inspection Checklist
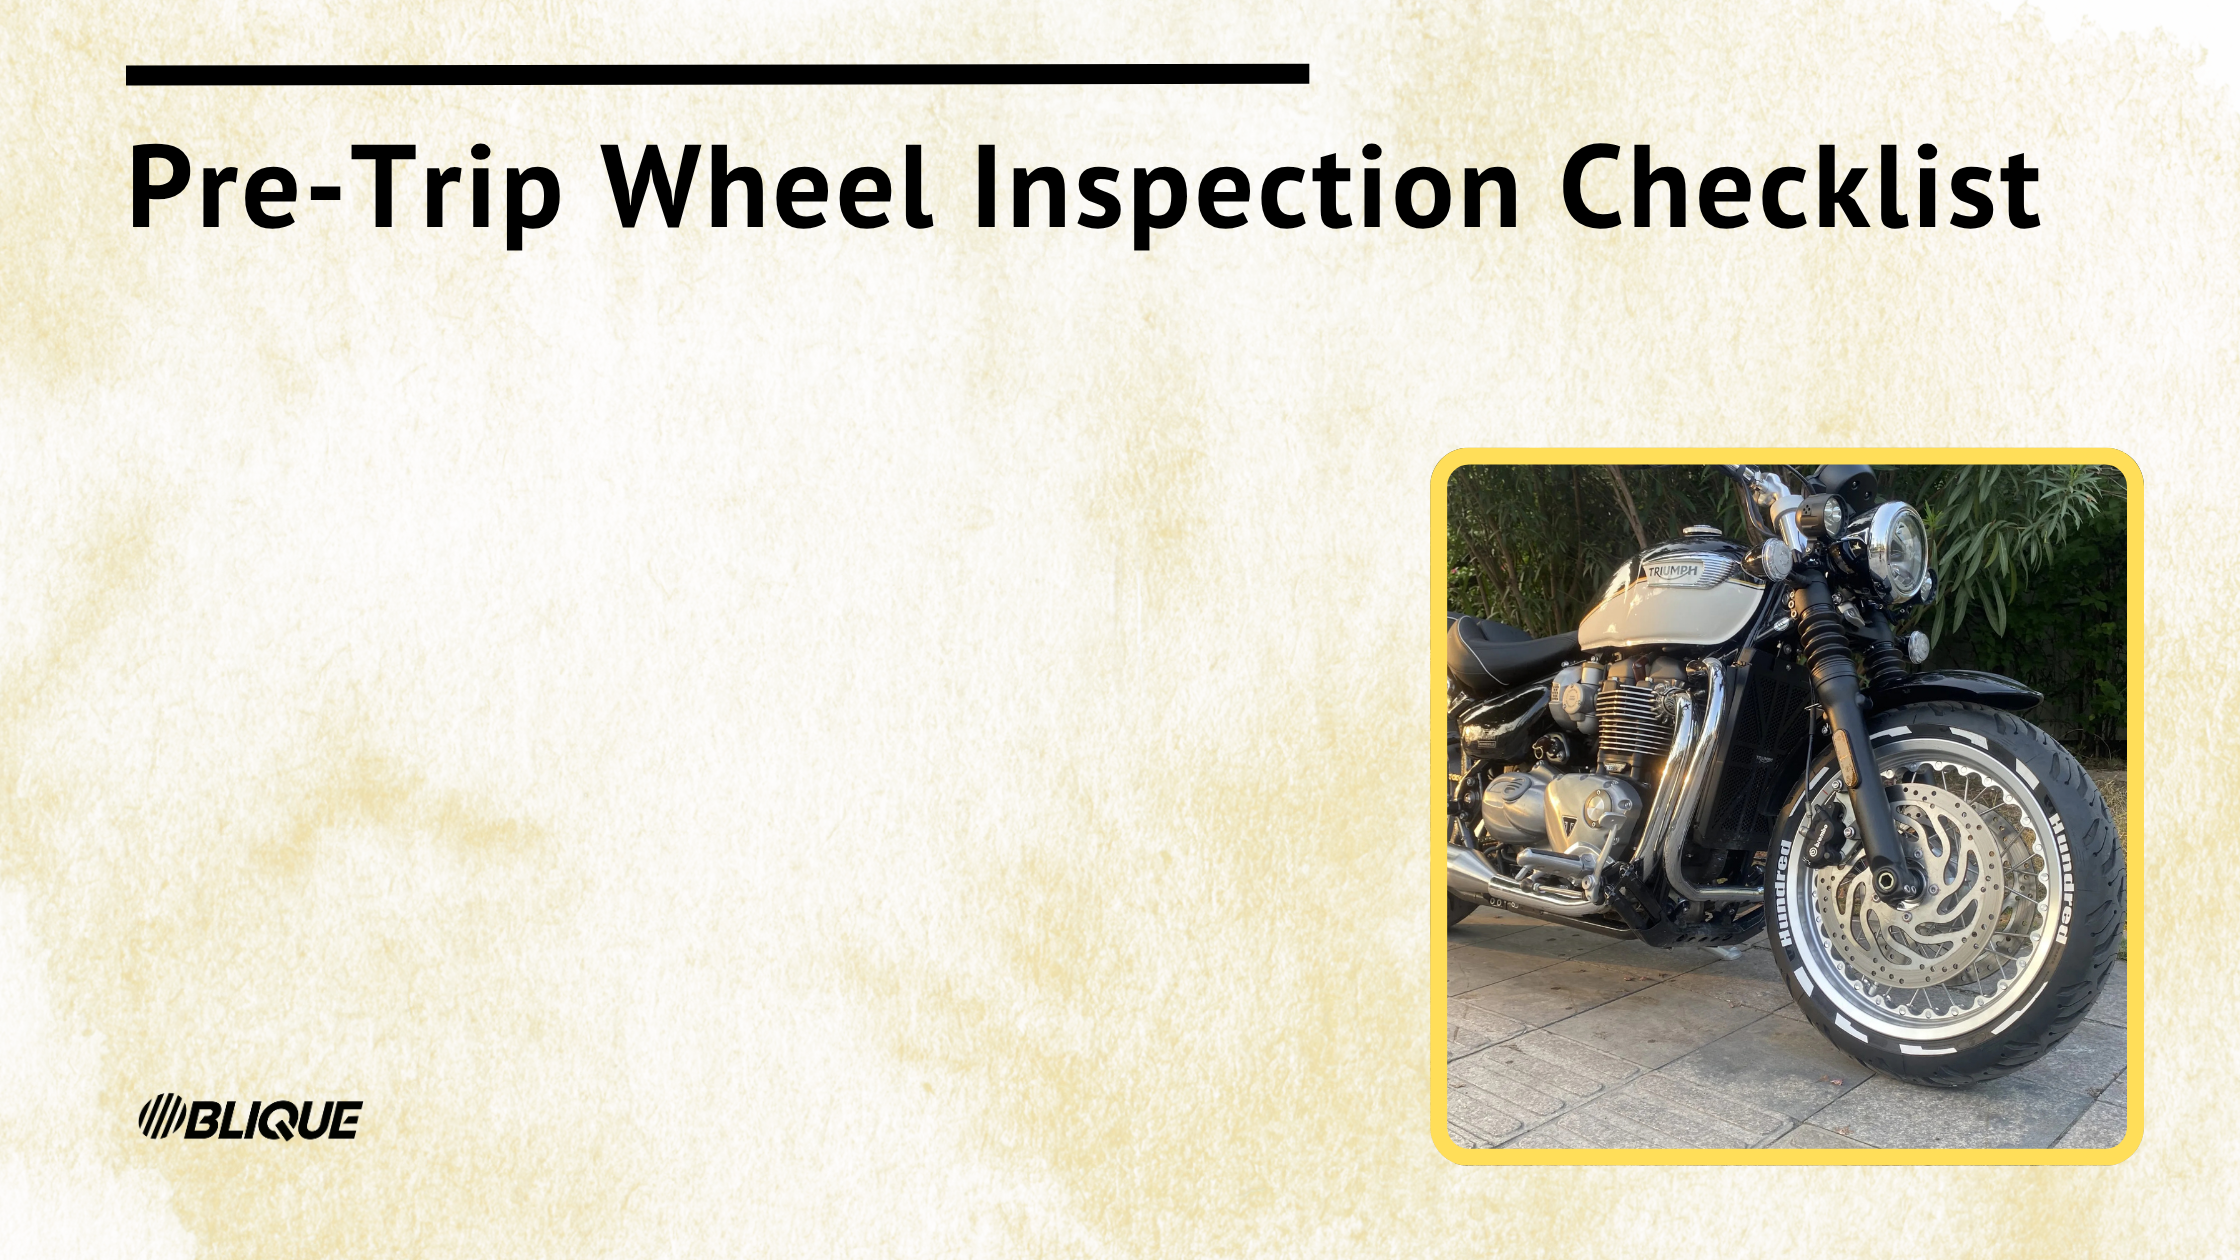
Before any long-distance tour, complete this checklist. Every item. No shortcuts.
Finding problems at home is annoying. Finding them 1,000 kilometers into a tour is potentially trip-ending.
Spoke Tension and Wheel Trueness Inspection
The tap test method works. It’s not complicated.
Take a screwdriver or wrench. Tap each spoke. Listen to the sound. Properly tensioned spokes produce a uniform “ping” sound. Loose spokes produce a dull “thud.” You’ll hear the difference immediately once you know what to listen for.
Check every spoke systematically. Start at the valve stem so you know where you began. Work around the wheel. Don’t skip any. Mark the ones that sound different.
Look for visibly loose spokes. Sometimes they’re obviously wrong. Also look for damaged spokes. Bent. Corroded. Cracked at the elbow.
Check wheel trueness by spinning the wheel slowly. Watch for side-to-side wobble relative to the brake pads or a fixed reference point. Small wobble is often acceptable. Significant wobble needs attention.
When to true yourself versus seeking professional help? Small adjustments with a spoke wrench are manageable if you know what you’re doing. Significant trueness issues need a proper truing stand and experience. Don’t make things worse trying to fix them.
Do this at home before the trip. Not the night before departure. Give yourself time to address problems.
Tire Condition and Pressure Assessment
Check tread depth across the entire tire surface. Not just the center. ADV tires wear differently depending on your riding mix. The edges might be fine while the center is worn. Or vice versa.
Look for cuts in the tread. Bulges in the sidewall. Embedded objects you didn’t notice. Sidewall damage from rocks or debris.
Verify proper tire pressure when cold. Not after riding. Not in afternoon sun. Morning, before the bike moves.
Adjust your target pressure for load. Carrying full luggage? Passenger? You need higher pressure than the empty-bike specification. Consult your tire manufacturer’s load chart.
Document tire condition with photos. If something changes mid-tour, you’ll have comparison images.
Carry a quality tire pressure gauge. The stick-style gauges are compact. Digital gauges are more accurate. Either works better than gas station gauges.
Different pressures for on-road versus off-road. Know your targets for both. You’ll be adjusting throughout the tour.
Wheel Bearing Examination
Lift each wheel off the ground. Use center stand, paddock stands, or get creative with luggage as ballast on the opposite side.
Spin the wheel. Listen. Grinding sounds are bad. Growling sounds are bad. The wheel should spin smoothly and quietly.
Check for play by grabbing the wheel at 12 and 6 o’clock. Rock it. Any clunking or looseness indicates bearing wear.
Wheel bearings are critical for ADV touring because the seals can’t defend against everything. Water crossings. Mud. Dust. These conditions attack bearing seals relentlessly.
Replace bearings if you feel any doubt. They’re relatively cheap. The labor is straightforward. A bearing failure during a tour is catastrophic.
ADV bikes need more frequent bearing checks than street bikes. The conditions demand it.
Rim Condition and Damage Check
Inspect rims carefully. Run your fingers along the edges where the tire bead seats.
Look for dents from impacts. Check for cracks, especially around spoke nipples and at the hub. Corrosion at the tire bead area can compromise seal on tubeless setups.
Check for flat spots from hard impacts. These affect balance and can cause vibration at speed.
Cast wheels need crack inspection at the hub and around stress points. Any crack is serious. Don’t ride on cracked cast wheels.
Address any damage before the tour. Minor dents might be acceptable on tubed setups but can cause slow leaks on tubeless wheels. Get a professional opinion if you’re unsure.
Brake Disc and Caliper Inspection
While you’re inspecting wheels, check brakes too. They’re right there.
Look at brake disc condition. Warping causes pulsing when braking. Hold a straight edge against the disc face to check. Scoring from worn pads or debris reduces braking effectiveness.
Verify caliper mounting bolts are tight. These can loosen from vibration.
Check brake pad thickness. Most pads have wear indicators. Replace pads if they’re approaching minimum thickness. Long tours aren’t the place to stretch brake pad life.
Better to replace borderline pads at home than deal with worn pads in a remote area.
Essential Wheel Maintenance During Long-Distance Tours
You’ve done pre-trip prep. Now you’re on the road. Maintenance doesn’t stop.
These tasks keep small problems from becoming big problems.
Daily Visual Inspection Routine
Takes five minutes. Do it every morning before riding.
Walk around the bike. Look at the spokes. Any obviously loose? Any broken? You’d be surprised how often you catch things this way.
Check tire pressure if you have a gauge handy. Especially if yesterday involved off-road where you lowered pressure.
Look for lodged debris in tires. Thorns. Screws. Glass. Better to find them parked than discover them as flats.
Check for leaks around valve stems. Any obvious damage from yesterday’s riding. Fresh scrapes on rims. New dents.
Morning is best. Tires are cold. You’re not rushed to make miles. Catching problems before riding beats discovering them 100 kilometers later.
Weekly Spoke Tension Checks
How often depends on conditions.
Off-road riding: every 300-500 kilometers. Off-road stresses wheels constantly. Impacts loosen spokes. Check frequently.
Highway riding: every 800-1,000 kilometers. Less stress but vibration can still loosen spokes over time.
Dusty or muddy conditions increase frequency. Debris works into spoke threads. Contamination accelerates loosening.
Tap test method works in the field same as at home. Takes 5-10 minutes once you have the rhythm.
Tighten loose spokes in the field carefully. Small adjustments only. Quarter turn maximum. Retighten adjacent spokes slightly too since tension is interconnected.
Big adjustments need professional help. If multiple spokes are loose or the wheel is going out of true, find a shop. Don’t make things worse.
Carry the spoke wrench that fits your bike. They’re not universal.
Tire Pressure Management on Tour
Adjust pressure for terrain. This isn’t optional for serious ADV touring.
Lower pressure for off-road and sand: 1.0-1.5 bar range depending on tire and conditions. More traction. Better flotation. More comfortable over bumps.
Higher pressure for highway: 2.0-2.5 bar range depending on load. Reduces heat buildup. Protects rim from impacts at speed. Better fuel economy.
Check pressure cold every morning. Pressure increases as tires heat up. Your baseline should be cold pressure.
Account for altitude changes. Pressure drops as you gain elevation. Check after significant climbs.
Carry a compact air compressor or CO2 cartridges. You need to re-inflate after off-road sections. Hand pumps work but are exhausting for large ADV tires.
Big ADV bikes with heavy loads need adequate pressure to protect rims. Running too low risks pinch flats and rim damage.
Wheel Cleaning in the Field
Clean wheels during tours. I know it seems unnecessary when you’re camping and tired. But corrosion doesn’t wait.
Mud left on spokes overnight starts corroding. Salt from coastal roads attacks aluminum. Dust buildup becomes abrasive paste.
Use water and a soft brush. Clean spokes, rims, hub areas. Get debris out from between spokes where it accumulates.
Don’t blast wheel bearings with a pressure washer. The pressure forces water past seals. Use gentle water flow around bearing areas.
Clean brake discs without contaminating pads. Water is fine. Avoid getting chain lube or other oils on disc surfaces.
Evening cleaning prevents overnight corrosion. The stuff you rode through today shouldn’t sit on your wheels until tomorrow.
Chain and Sprocket Maintenance Related to Wheels
Chain maintenance ties directly to wheel health. More than people realize.
Dirty chain plus dirty sprockets equals accelerated wear everywhere. The dirt acts as grinding paste. It wears chain. It wears sprockets. It stresses rear wheel bearings through inconsistent drive loads.
Clean and lube chain every 300-500 kilometers in dirty conditions. Every 800 kilometers in dry conditions. More often doesn’t hurt.
Check sprocket teeth for wear. Hooked teeth or shark-fin profiles mean replacement time. Worn sprockets destroy chains quickly.
Proper chain tension matters for wheel bearings. Too tight puts constant preload on rear bearings. Too loose causes shock loading during acceleration. Both reduce bearing life.
A well-maintained chain contributes to wheel longevity. Everything connects.
Wheel Maintenance for Different Touring Conditions
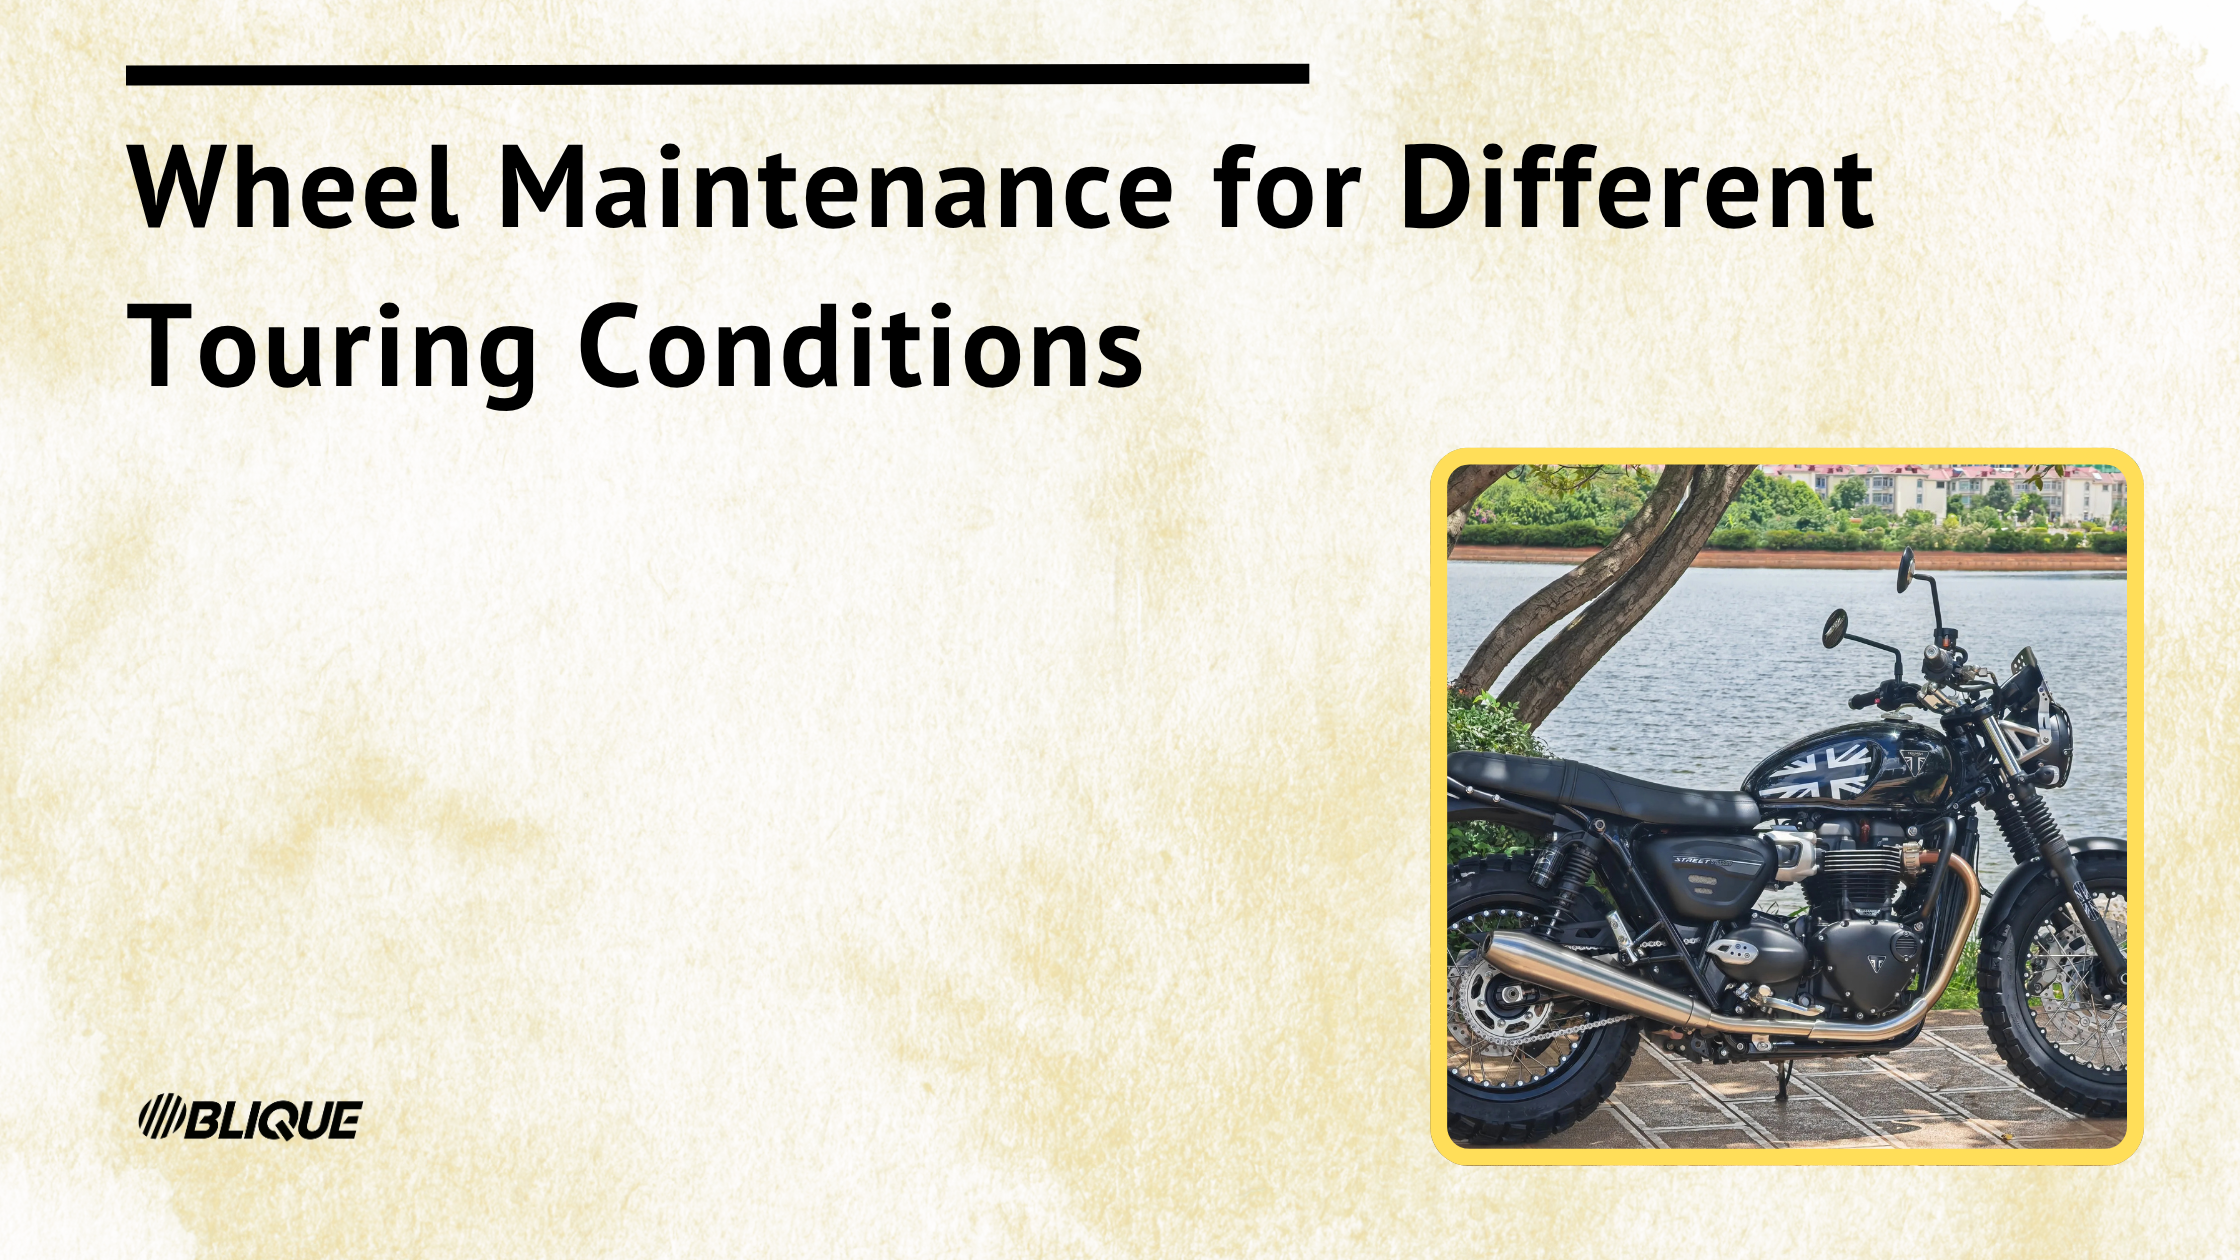
Different environments demand different attention. What matters in the desert differs from what matters in the mountains.
Adjust your maintenance focus based on where you’re riding.
Desert and Dust Conditions
Dust infiltrates everything. Fine particles get into places you wouldn’t expect.
Wheel bearings suffer most. Dust works past seals and acts like grinding compound inside the bearing. Check bearings more frequently. Every 1,000-2,000 kilometers minimum.
Clean wheels daily in dusty conditions. The dust buildup is abrasive. It accelerates wear on every moving part.
Keep spokes clean. Dust combined with any moisture creates paste that accelerates corrosion.
Inspect seals visually. Look for dust accumulation around bearing seals. Wipe clean regularly.
Lower tire pressure for sand riding. But not too low. Big ADV bikes with luggage can damage rims if pressure is insufficient. Find the balance between traction and rim protection.
Air filters clog faster in dust. Not directly wheel-related but affects overall bike reliability.
Wet, Muddy, and Water Crossing Conditions
Water exposure creates specific risks.
Bearings again. Water crossings force water against seals. Deep crossings can push water into bearing races. Inspect bearing seals after any significant water crossing.
Chain needs attention every 300-500 kilometers in wet conditions. Water washes lube away. Mud accelerates wear.
Mud buildup between spokes affects wheel balance. Significant mud accumulation causes vibration. Clean wheels when you stop.
Prompt cleaning prevents overnight corrosion. Wet mud left on spokes attacks finish and base metal. Don’t wait until morning.
Check spoke tension after muddy sections. Mud stress-tests wheels through weight and resistance. Loosening happens faster.
Corrosion prevention is critical in wet environments. Dry wheels when possible. Apply protective products to spokes if carrying them.
Rocky and Technical Off-Road Terrain
High impact risk to everything.
Check spoke tension daily when riding technical terrain. Impacts shock-load spokes. Loosening accelerates dramatically.
Inspect rims for dents after technical sections. Rock strikes cause damage. Catch dents before they cause tire sealing issues.
Lower tire pressure for traction and rim protection. The tire absorbs impacts that would otherwise transfer to the rim. But balance this against pinch flat risk.
Check wheel bearings for damage after particularly rough days. Impacts stress bearings beyond normal loads.
Consider heavy-duty wheel upgrades for extreme terrain if this is your regular environment. Stronger rims. Better spokes. Worth the investment if you’re consistently pushing limits.
Long Highway Miles with Heavy Loads
Different stress profile than off-road. Less dramatic but still demanding.
Proper tire pressure is critical with heavy loads. Higher than unloaded specifications. Check manufacturer recommendations for loaded weight.
Spoke tension checks every 800-1,000 kilometers. Highway vibration loosens spokes over time. Less frequently than off-road but still necessary.
Wheel bearings work harder with luggage weight. More load means more stress. Listen for changes in bearing sound.
Wheel balance matters more for comfort during long highway days. Imbalance causes vibration that compounds over 8-10 hour riding days. Fatigue increases. Comfort decreases.
Check for heat buildup in bearings during fuel stops. Touch hubs carefully. Excessive heat indicates bearing problems.
Less maintenance intensity than off-road conditions. But consistency remains important. Don’t skip checks because the riding seems easy.
Frequently Asked Questions
How often should I check spoke tension on a long tour?
Every 300-500 kilometers for off-road riding. Every 800-1,000 kilometers for highway.
More frequently in dusty or rough conditions. Dust accelerates loosening. Impacts shock-load spokes.
The tap test takes 5-10 minutes once you’re practiced. Daily visual checks take less than a minute and catch obvious problems.
Regular checking prevents wheel failure. A loose spoke that goes unnoticed becomes a broken spoke. A broken spoke ignored becomes a damaged rim. Catch problems early.
Can I tour with tubeless spoked wheels in remote areas?
Yes. Actually better than tubes for remote touring in many ways.
Easy puncture repair with a plug kit. No tire removal required for most punctures. Pull the object, insert plug, inflate, continue. Takes minutes.
No tube failures. Tubes can fail from chafing, heat, age, or defects. No tubes means no tube-related failures.
Carry a plug kit and inflation source. CO2 cartridges or compact compressor. That’s your repair kit.
Kineo tubeless spoked wheels are designed specifically for expedition reliability. TÜV approved. Proven in extreme conditions across multiple continents.
Many serious tourers prefer tubeless spoked specifically for reduced maintenance burden and repair simplicity.
What wheel maintenance tools should I carry on tour?
Essential kit: Spoke wrench sized for your bike. Tire plug kit with plugs and insertion tools. Quality tire pressure gauge. Tire levers for bead breaking if needed. Spare tube even on tubeless setup as emergency backup. Portable compressor or CO2 cartridges.
Also useful: Small brush for cleaning. Chain lube. Spare spokes if you have space.
Everything fits in a tool roll. Doesn’t add significant weight.
These tools enable field repairs that prevent being stranded. Worth the space and weight.
How do I know if my wheel bearings need replacement?
Signs to watch for: Grinding or growling noise when spinning wheel. Wheel doesn’t spin freely when lifted. Excessive play when rocking wheel. Roughness felt when spinning slowly by hand.
Check bearings every 15,000-25,000 kilometers during normal service. Or before any major tour regardless of mileage.
ADV riding with water and mud exposure reduces bearing life significantly. What might last 30,000 kilometers on a street bike might need replacement at 15,000 kilometers on an adventure bike.
Inspection is essentially free. Takes minutes. Replacement prevents failure during tours when replacement isn’t convenient.
Should I balance my wheels for touring?
Absolutely. Non-negotiable for long-distance touring.
Balanced wheels provide a smoother ride. Reduce vibration transmitted to the rider. Extend tire life through even wear. Extend bearing life through reduced stress. Improve high-speed stability.
Essential for long days in the saddle. Vibration that seems minor at first becomes exhausting over hours.
Balance with every tire change. Professional or DIY with a static balancer.
Small weight imbalances amplify at highway speeds. What’s unnoticeable at 50 km/h becomes obvious at 130 km/h.
What’s the advantage of Kineo tubeless spoked wheels for touring?
Kineo wheels combine spoked wheel durability with tubeless convenience. Best of both worlds for serious touring.
Proprietary sealing technology creates reliable tubeless interface. No special procedures required.
No tube failures eliminates an entire category of problems. Easy puncture repair with standard plug kits means roadside fixes take minutes.
TÜV approved for safety certification. Italian manufacturing with quality control.
Reduced maintenance compared to tube-type spoked wheels. One less system to manage on tour.
Plug-and-play installation on supported bikes. Available for BMW, KTM, Honda, Yamaha, Ducati, Triumph, and other popular adventure platforms.
For riders doing serious long-distance touring, Kineo tubeless spoked wheels reduce risk and maintenance burden. Worth exploring for your bike.