Don't miss our new customer offer - up to 8% OFF! ( Code: kineo8off )

Tubeless Spoked Wheel Maintenance: Complete Care Guide

Kineo tubeless spoked wheels aren’t like other spoked wheels. They’re truly tubeless from the factory. No rim tape to maintain. No sealants to make the rim airtight. No fussing with conversion kits that might fail when you’re 200 miles from anywhere.
The secret is where the spoke nipples sit. On traditional spoked wheels, nipples go through the rim bed. Holes in the rim. Holes mean air leaks unless you seal them. Kineo moved the nipples to the hub instead. The rim stays intact. Air stays inside where it belongs.
TÜV approved, too. That matters if you care about legal compliance and insurance. These aren’t garage experiments. They’re engineered, tested, and certified.
Here’s what riders love most. You get that classic spoked look on your ADV bike, your supermoto, your touring machine. But you also get modern tubeless tire safety. Run whatever tubeless rubber you want. Plug a puncture roadside without removing the wheel. No pinch flats ever.
And maintenance? Way less than traditional wire wheels. You won’t be re-tensioning spokes every few thousand miles. The system maintains itself.
This guide covers everything you need to keep Kineo tubeless spoked wheels performing perfectly. Daily checks. Monthly tasks. Seasonal servicing. Tire pressure. Cleaning. Spoke checks. The whole picture.
What Makes Tubeless Spoked Wheels Different from Traditional Spoked Wheels?
Tubeless spoked wheel technology solves a problem that’s existed since motorcycles first rolled. Traditional spoked wheels have spoke nipples that penetrate the rim bed. Every nipple creates a hole. Holes leak air. So traditional spoked wheels need inner tubes.
Kineo’s system relocates the spoke nipples to the hub. The rim bed stays completely sealed. No holes. No tape. No sealant required for basic air retention. You install tubeless tires directly, just like you would on cast wheels.
Traditional spoked wheels can be converted to tubeless. Riders use rim tape, sealants, sometimes expensive conversion kits. These work. Sometimes. They also require ongoing maintenance, can fail unexpectedly, and aren’t officially approved for road use in many jurisdictions.
Kineo wheels are different. Factory TÜV approval. Plug-and-play installation. Compatible with both tubeless and tubed tires if you prefer. No DIY conversion required. No tape to check and replace. No wondering if your seal is still good after a spoke adjustment.
How Kineo Tubeless Spoked Wheels Work
The technical explanation starts at the hub. Spoke nipples mount directly to the hub assembly rather than threading through the rim. This design choice changes everything.
The rim itself is constructed from 7000 series aluminum. Strong. Light. And most importantly, the rim bed has no spoke holes to compromise air retention. The bead seat area seals against tubeless tires exactly like a cast wheel would.
The spoke attachment system looks different when you examine it closely. Spokes extend from the hub-mounted nipples outward to the rim flange. Tension happens at the hub, not the rim. The rim just receives the spoke ends without any penetration.
Why does this matter for you? No air leakage points in the rim. Better tire pressure retention over time. One less thing to worry about on long rides. And because spoke tension adjustments happen at the hub, any adjustment that might affect the seal simply doesn’t, because the seal isn’t anywhere near the adjustment points.
Tubeless vs. Tube-Type Spoked Wheels: Key Differences
Air Retention
- Tubeless (Kineo): Rim seals directly against tire bead. No additional sealing required.
- Tube-type: Inner tube holds air. Rim doesn’t need to seal.
Puncture Repair
- Tubeless (Kineo): Plug repairs work roadside. Remove nothing.
- Tube-type: Must remove wheel, break tire bead, patch or replace tube.
Weight
- Tubeless (Kineo): No tube means less rotating mass.
- Tube-type: Tube adds weight, typically 1-2 pounds per wheel.
Maintenance Requirements
- Tubeless (Kineo): Minimal. No tape/sealant to maintain.
- Tube-type: Check tube condition, watch for chafing, inspect rim strips.
Safety Features
- Tubeless (Kineo): Slow air loss in punctures. Bead retention designed in.
- Tube-type: Sudden deflation possible with punctures.
Spoke Adjustment Impact
- Tubeless (Kineo): Hub-mounted nipples. Adjustment doesn’t affect air seal.
- Tube-type (or DIY conversions): Rim-mounted nipples. Any adjustment risks seal integrity.
Kineo’s advantage over DIY tubeless conversions comes down to reliability and legal approval. Factory-built systems just work better than aftermarket sealing solutions.
Essential Tubeless Spoked Wheel Maintenance Schedule
Maintaining Kineo wheels takes less effort than traditional spoked wheels. But “less” doesn’t mean “none.” Regular checks keep you safe and extend wheel life.
Here’s the complete maintenance timeline:
| Timeframe | Tasks |
| Daily / Pre-ride | Tire pressure check, visual inspection, quick spoke tap test |
| Weekly | More thorough visual assessment, tire condition review |
| Monthly | Deep pressure verification, comprehensive spoke sound check, tread depth measurement, valve inspection |
| Seasonal | Full cleaning, bearing check, tire evaluation, detailed condition assessment |
| Annually | Professional inspection (if needed), comprehensive bearing service, tire replacement consideration |
Kineo wheels require less spoke maintenance than traditional designs. You won’t be scheduling regular re-tensioning sessions. But you still need to verify everything remains solid.
Daily and Pre-Ride Inspection Checklist
Before every ride, quick checks catch problems before they become dangerous.
- Tire pressure check: Use a quality gauge. Don’t trust gas station gauges completely. Know your target pressure.
- Tire condition assessment: Look for cuts, bulges, embedded objects, unusual wear. Takes ten seconds.
- Quick spoke sound test: Tap several spokes with a wrench or key. Should ring clearly. Dull thud means potential problem.
- Wheel trueness check: Spin the wheel, watch for wobble. Doesn’t need to be perfect but shouldn’t be obviously wrong.
- Brake rotor inspection: Look for damage, warping, contamination. While you’re down there anyway.
- Valve stem condition: Make sure it’s straight, not cracked, cap in place.
None of this takes long. Two minutes, maybe three. Builds good habits.
Monthly Maintenance Tasks
Once a month, go deeper.
- Deep tire pressure verification: Use a calibrated gauge. Compare to last month’s readings. Consistent slow loss might indicate valve issues.
- Comprehensive spoke tension check: Tap each spoke at the crossing points. Listen for consistency. All should sound similar. Note any that sound different.
- Tire tread depth measurement: Use a depth gauge or the penny test. Know when replacement is approaching.
- Valve core inspection and cleaning: Remove core, check for sealant buildup if using sealant, ensure free movement.
- Rim condition assessment: Look for damage, corrosion, finish wear. Check bead area.
- Unusual wear patterns: Cupping, flat spots, one-sided wear all indicate problems elsewhere (suspension, alignment, riding style).
Seasonal and Annual Maintenance
Quarterly or when seasons change, plus once a year for the big stuff.
- Full wheel inspection: Consider professional assessment if you’re not confident in your evaluation skills.
- Bearing service: Check for play, roughness, noise. Repack or replace as needed.
- Comprehensive cleaning: Remove built-up grime, inspect everything while cleaning.
- Tire replacement consideration: Even if tread remains, age degrades rubber. Five years is generally maximum tire life regardless of wear.
- Spoke condition assessment: Look for corrosion, damage, bent spokes.
Important note about Kineo wheels specifically: these don’t require routine spoke re-tensioning like traditional spoked wheels. The design maintains tension. You’re checking for problems, not performing scheduled adjustments.
Tire Pressure Management for Tubeless Spoked Wheels
Proper tire pressure affects everything. Handling. Wear. Comfort. Safety. Get this wrong and nothing else matters.
Tubeless tires on Kineo wheels behave like any tubeless setup. They lose pressure slowly over time. Normal. All tires do this. Check regularly and adjust as needed.
Temperature affects pressure significantly. Cold morning pressure reads lower than after riding. Pressure increases as tires warm up from friction and ambient temperature. Check pressure cold, before riding.
For different riding styles:
Street and touring: Follow manufacturer recommendations on tire sidewall or your motorcycle manual. Typically 32-36 PSI front, 36-42 PSI rear depending on load.
ADV and dual-sport use: Street pressures on pavement. Consider dropping 5-10 PSI for extended off-road sections. Lower pressure improves traction and comfort but increases puncture risk and rim damage potential.
Supermoto applications: Higher pressures for track/aggressive street work. Lower pressures can improve grip but accelerate wear.
TPMS systems are worth considering. Real-time monitoring takes the guesswork out. Know immediately if you’re losing pressure. Particularly valuable for touring riders or anyone covering serious distance.
Optimal Tire Pressure Settings
Pressure settings depend on multiple factors. No single answer works for everyone.
Riding style considerations:
- Street commuting: Standard recommended pressures work fine
- Aggressive cornering: May benefit from slightly lower pressure for larger contact patch
- Track use: Often lower than street, but varies by tire compound and conditions
- Off-road: Significantly lower for traction, but watch for rim damage
Rider and load weight:
- Heavier riders need higher pressure
- Add 2-4 PSI when carrying passenger
- Full touring luggage requires pressure increase
Tire specifications:
- Maximum pressure listed on sidewall. Never exceed this.
- Manufacturer recommendations are starting points, not absolutes
Tubeless advantage: You can run lower pressures safely without risking pinch flats. No tube to pinch between rim and obstacle. This matters off-road especially.
Warning: Never exceed maximum pressure ratings. Overinflated tires wear poorly, handle badly, and can fail catastrophically.
When and How to Adjust Tire Pressure
Check before every ride. Seriously. Takes 30 seconds.
Adjusting for terrain changes:
- Leaving pavement for extended dirt? Drop pressure before you start.
- Returning to pavement? Add pressure before highway speeds.
- Don’t forget to re-adjust. Easy to ride off dirt at low pressure and wonder why the bike feels weird.
Temperature compensation:
- Tires gain roughly 1 PSI for every 10°F increase in temperature
- Set pressure cold
- Hot readings after riding will be higher. That’s normal.
Load considerations:
- Passenger adds significant weight. Increase rear pressure 3-5 PSI.
- Heavily loaded panniers require adjustment too.
Tools needed:
- Quality pressure gauge (digital gauges are nice, good mechanical gauges work fine)
- Portable compressor or CO2 inflator
- Valve core tool (for sealant users especially)
Adjustment process:
- Check current pressure cold
- Compare to target pressure
- Release air slowly if too high (press valve core)
- Add air if too low (compressor or CO2)
- Verify final pressure
- Replace valve cap
Cleaning and Care for Tubeless Spoked Wheels
Clean wheels look good. Obviously. But cleaning is also inspection. You can’t evaluate what you can’t see clearly.
Spoked wheels have lots of surfaces. More than cast wheels. All those spokes, the hub, the rim surfaces, intersection points. Takes longer to clean properly. Worth the effort.
Frequency depends on conditions. Daily commuter in good weather? Monthly cleaning probably fine. Adventure riding on muddy trails? Clean after every dirty ride. Corrosive road salt? Clean frequently during winter.
Products matter. Some chemicals damage finishes. Some damage rubber. Use appropriate cleaners for wheel materials.
Safe Cleaning Methods and Products
Recommended supplies:
- Mild soap and water (dish soap works fine)
- Wheel-specific cleaners (pH neutral formulas preferred)
- Soft brushes of various sizes
- Cone-shaped brushes for spoke access
- Microfiber cloths for drying
- Bucket of clean rinse water
Step-by-step cleaning process:
- Rinse to remove loose dirt: Gentle water pressure. Remove the easy stuff first. Don’t grind dirt into the finish.
- Apply cleaner: Work in sections. Don’t let cleaner dry on the surface.
- Brush spokes individually: Each spoke, both sides. Cone brushes make this easier. Pay attention to spoke crossings where dirt accumulates.
- Clean rim surfaces: Both sides of the rim. Inside and outside. Behind brake rotor if accessible.
- Rinse thoroughly: All soap residue removed. Check spoke intersection points.
- Dry completely: Water causes spots and can contribute to corrosion. Microfiber works well. Compressed air helps in tight areas.
Important warning: Avoid high-pressure washers directly on bearings. Water intrusion damages bearing seals and washes out grease. Ruins bearings quickly. Keep pressure washer spray away from hub areas or use only low pressure and indirect angles.
Avoiding Common Cleaning Mistakes
Don’t use:
- Harsh chemicals (acidic wheel cleaners can damage finishes)
- Abrasive materials (scotch pads, rough brushes scratch surfaces)
- Excessive water pressure on bearings (ruins seals, invites contamination)
Don’t forget:
- Hidden areas behind brake rotors (corrosion starts where you can’t see)
- Spoke intersections (dirt packed in these joints)
- Hub area (often neglected, shows first signs of problems)
- Valve stem base (debris accumulates here)
Proper drying matters: Standing water causes corrosion. Especially in crevices. Dry thoroughly after washing. Run a cloth through spoke gaps. Blow out water from tight areas if possible.
Clean before you inspect: Dirt hides damage. Grime obscures cracks. Cleaning first means you actually see the wheel’s condition during inspection.
Spoke Tension Checking and Maintenance
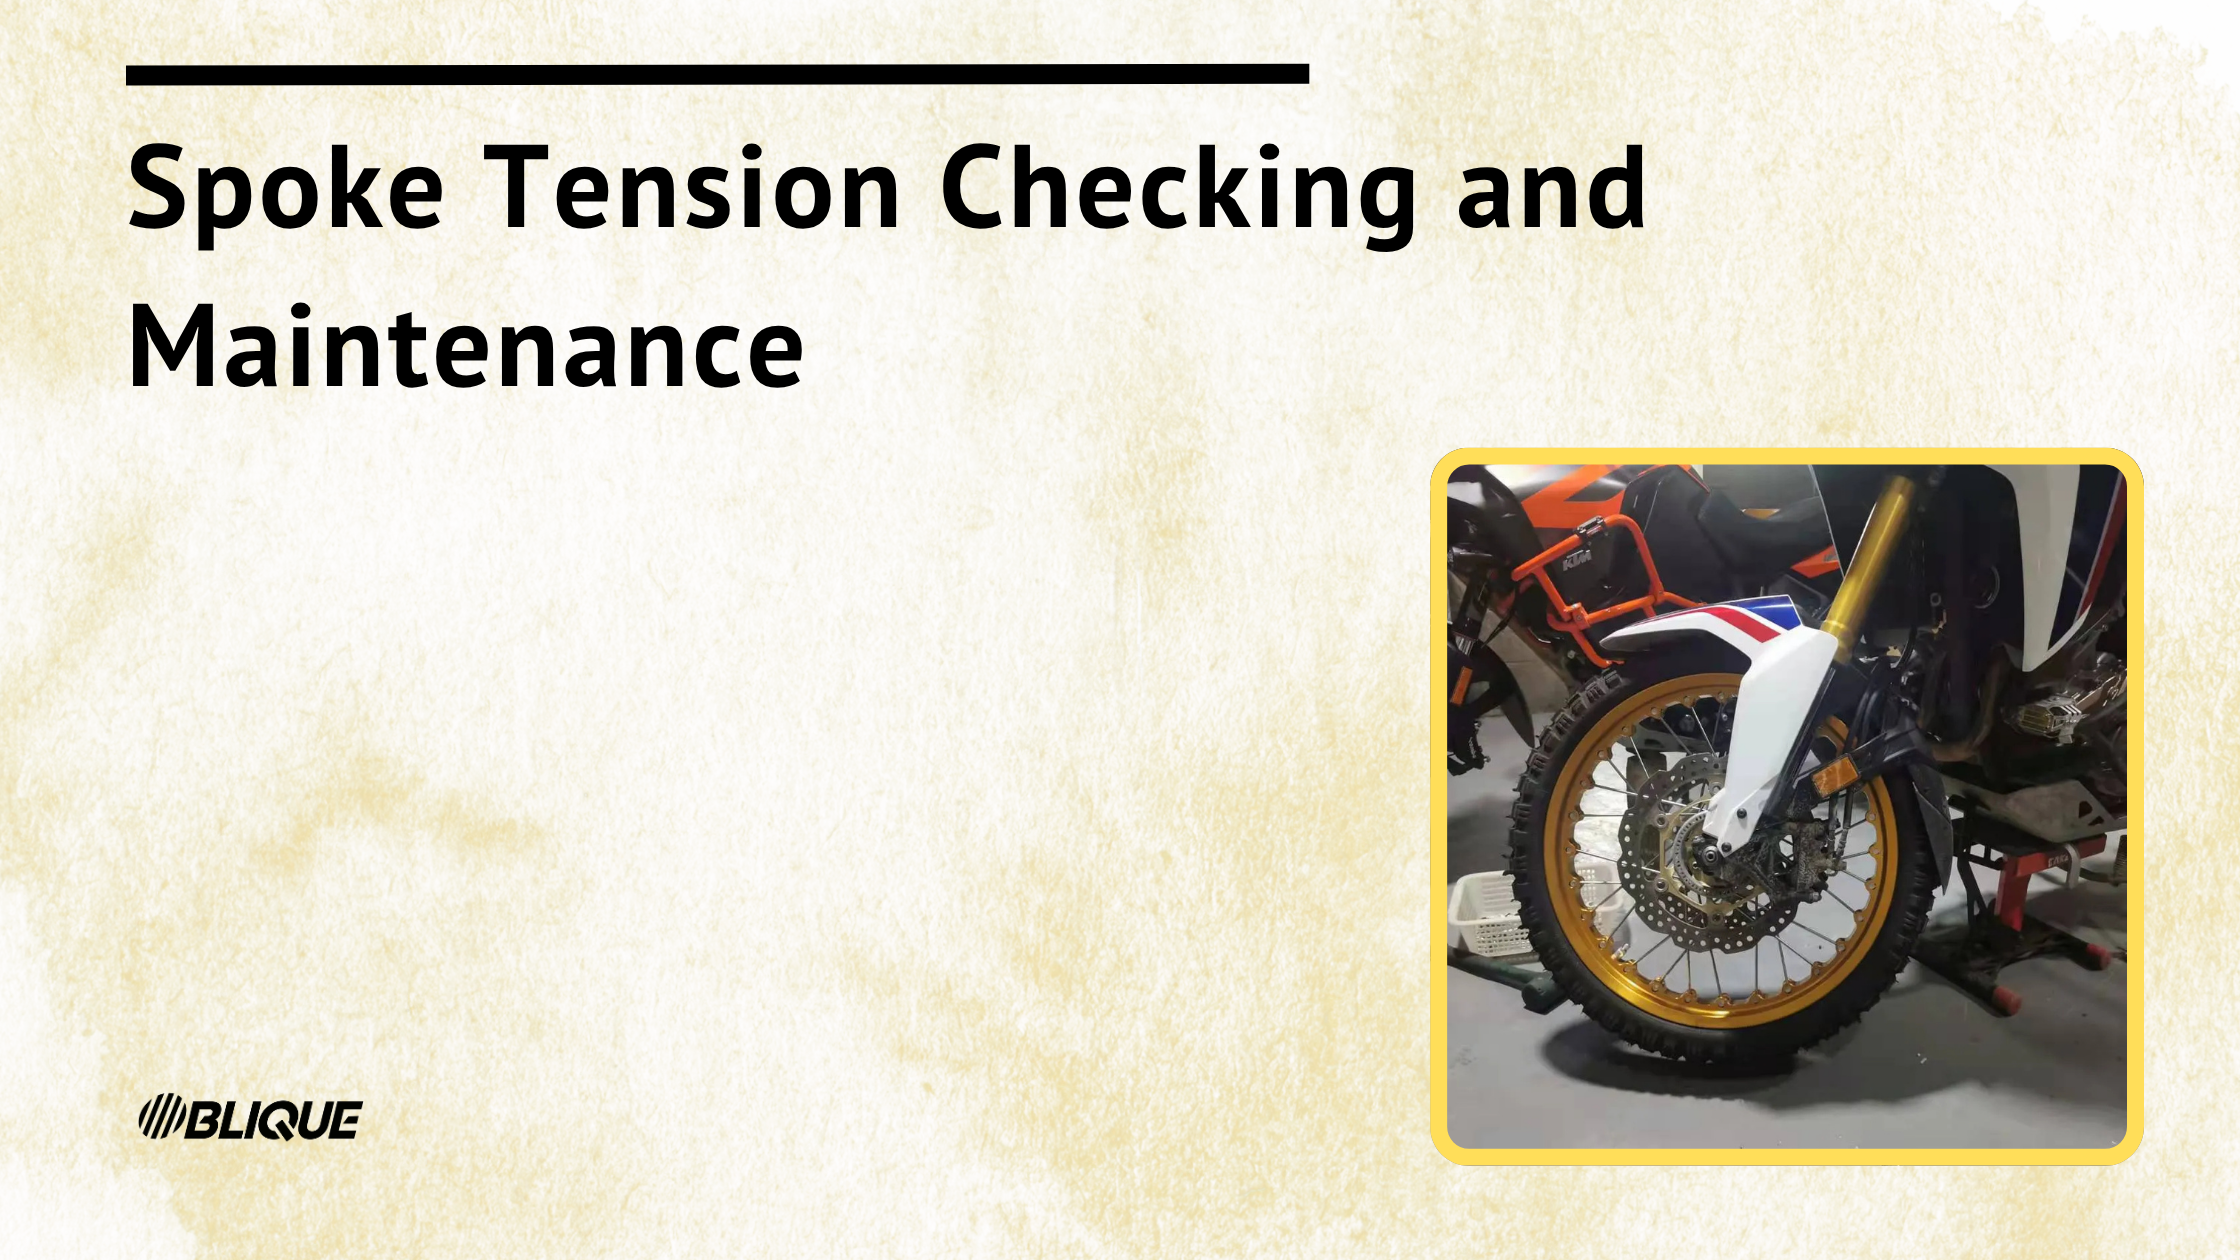
Here’s where Kineo wheels really shine. Traditional spoked wheels need regular spoke tension adjustment. Spokes loosen over time. Wheels go out of true. You either learn to true wheels yourself or pay someone regularly.
Kineo’s system maintains tension without intervention. The hub-mounted spoke nipple design holds tension better than rim-mounted nipples. Less maintenance required.
But “less” still means you should check occasionally. Confirming everything’s right takes minimal effort.
How to Check Spoke Tension Using the Sound Method
This works and requires no special tools. A small wrench, a screwdriver, even a key will do.
The process:
- Tap each spoke where it crosses another spoke. Not super hard. Just a firm tap.
- Listen to the sound. A properly tensioned spoke produces a clear musical “ping” or “ting.” Think about a tuning fork.
- A loose spoke sounds different. Lower pitch. Sometimes a dull “thud” instead of a ring. Dead sounding.
- Work around the entire wheel, tapping each spoke.
- Compare sounds. All properly tensioned spokes should sound relatively similar on the same side.
Side differences are normal: On rear wheels, drive-side and non-drive-side spokes have different tensions by design. Compare drive-side to drive-side, non-side to non-side.
What sounds indicate problems:
- Significantly lower pitch than other spokes: Possibly loose
- Dead thud with no ring: Definitely needs attention
- Buzzing or rattling: Something’s wrong
Kineo-specific note: These wheels maintain tension better than traditional designs. You’re checking for exceptions, not expecting regular adjustment needs. Finding consistent tension is normal. Finding problems is unusual but worth catching early.
When Professional Spoke Service is Needed
Some signs require expert attention. Don’t try to handle these yourself on Kineo wheels.
Signs requiring professional service:
- Multiple loose-sounding spokes
- Visible wheel wobble exceeding 1/8 inch
- Broken or visibly damaged spokes
- Wheel that won’t stay true after correction
- Any spoke damage from impact
Critical warning: Kineo wheels use a proprietary spoke system. The hub-mounted nipple design isn’t the same as traditional wheels. Adjustments require specialized knowledge and specific equipment.
Do not attempt DIY spoke adjustments on Kineo wheels. You can damage the wheel. You can void warranty. You can create safety hazards. The cost of professional service is trivial compared to the cost of a ruined wheel or a crash from wheel failure.
Reference Woody’s Wheel Works or other Kineo-authorized service centers for spoke work. These shops understand the system and have proper tools.
Tubeless Tire Care and Sealant Management
Sealant is optional on Kineo wheels. The rim seals fine without it. But some riders add sealant anyway as extra insurance.
ADV riders especially like sealant. Middle of nowhere, small puncture, sealant handles it automatically. You might not even notice until you check pressure later.
Street riders often skip sealant. Less mess. Fewer valve core clogs. One less thing to maintain.
Your choice depends on how you ride and your comfort level with risk.
Choosing and Using Tire Sealant
Popular options:
- Stan’s NoTubes: Widely available, proven formula
- Orange Seal Endurance: Good for varying temperatures, longer lasting
- Muc-Off: Works well, popular in cycling community
Recommended amounts vary by application:
- Road/Sport riding: 1.5-2 oz per tire (if using at all)
- ADV/Touring: 2-4 oz per tire
- Supermoto: 2-3 oz per tire
Application methods:
Through valve stem (easier):
- Remove valve core
- Use sealant injector bottle or syringe
- Add recommended amount
- Reinstall valve core
- Inflate tire
- Roll tire to distribute sealant
During tire mounting:
- Mount tire on one side
- Pour sealant into tire before seating second bead
- Complete tire mounting
- Inflate and distribute
When sealant makes sense:
- Long adventure trips
- Riding in areas with thorny vegetation
- Added peace of mind worth the maintenance trade-off
When to skip sealant:
- Primarily street riding near repair facilities
- Don’t want to deal with valve core maintenance
- Prefer simpler system with fewer components
Sealant Inspection and Replacement Schedule
Sealant doesn’t last forever. It dries out, clumps up, loses effectiveness.
Check every 3-6 months. More often in hot, dry climates. Less critical in temperate conditions.
How to check sealant:
Valve removal method: Remove valve core, tilt wheel, see if liquid sealant flows to valve. Liquid = good. Nothing = needs replacement.
Shake test: Spin wheel slowly, listen/feel for liquid movement. More art than science but works.
Visual inspection: During tire changes, observe sealant condition. Should be liquid, not dried chunks.
Signs sealant needs replacement:
- Dried-out or clumpy texture visible
- Reduced liquid volume
- Tire won’t hold air after small punctures (sealant should handle)
- More than 6 months since application in hot climate
Replacement procedure:
- Deflate tire
- Remove valve core
- Drain/clean out old sealant (break bead if necessary for thorough cleaning)
- Add fresh sealant through valve
- Reinstall valve core
- Inflate
- Roll tire to distribute
Rim and Bead Maintenance
The bead area is where your tire seals against the rim. Critical for tubeless function. Keep it clean and undamaged.
Rim damage affects everything. Air retention. Trueness. Safety. Worth inspecting regularly.
Inspecting the Rim Bed and Bead Seat Area
Monthly inspection checklist:
- Bead seat surfaces: Should be clean and smooth. No debris, no gouges, no corrosion.
- Rim edges: Check for dents from impacts, curb damage, trail damage.
- Spoke attachment area at hub: Unique to Kineo design. Verify spoke ends are secure, no visible damage.
- Finish condition: Look for corrosion starting, especially in hard-to-see areas.
Cleaning the bead area:
- Deflate tire partially (don’t need to remove)
- Push tire bead away from rim to expose bead seat
- Use isopropyl alcohol and a clean cloth
- Wipe bead seat surface clean
- Inspect for debris, dried sealant, damage
- Let dry before reseating bead
Clean bead seats seal better. Debris in this area can cause slow leaks. Worth the effort every few months or during tire changes.
Identifying Rim Damage and When to Replace
Warning signs that indicate problems:
- Cracks near spoke holes: Rare on Kineo because spoke holes don’t exist in the rim bed. But check where spokes attach at hub.
- Dents from impact: Common on adventure bikes. Trail rocks don’t care about your nice wheels.
- Bent rim: Shows as wobble that won’t true out properly.
- Corrosion damage: Especially concerning near bead seat areas.
- Bead seat damage: Gouges or deformation preventing proper tire seal.
Measurement tolerances:
- Rim wobble within 1/8 inch acceptable for rear wheel and off-road use
- Front wheel and street use should be tighter
- Any progressive worsening indicates ongoing problem
When professional assessment matters:
- After significant impacts
- When wobble increases over time
- If you can’t get tire to seal properly
- Any visible cracks
Kineo offers rim replacement options. Better to replace a damaged rim than ride on compromised equipment.
Valve Stem Care and Maintenance
Small component, big importance. Valve problems cause air loss that gets blamed on everything else.
Tubeless valve stems seal in the rim. Valve cores control air flow. Both need attention.
Valve Core Cleaning and Replacement
Why valve cores clog: Sealant is the main culprit. Sealant gets into the valve, dries in the core, blocks air flow. Even without sealant, dust and debris accumulate.
How to clean:
- Remove valve core with valve tool (cheap, essential tool)
- Soak core in isopropyl alcohol for 15-30 minutes
- Use small brush or pick to remove debris
- Blow through core, ensure free air flow
- Check that pin moves freely
- Reinstall
When to replace: Valve cores are cheap. A few dollars. Replace every 6-12 months if using sealant. Replace whenever cleaning doesn’t restore full function. Replace if you notice slow air loss and can’t find another cause.
Keep spare valve cores in your toolkit. Field replacement takes 30 seconds.
Troubleshooting Valve-Related Air Loss
Diagnosing valve leaks:
- Soapy water test: Apply soapy water around valve base and over valve core opening. Bubbles indicate leak.
- Listening test: In quiet environment, listen for hissing at valve.
- Pressure loss pattern: Rapid loss suggests valve or bead issue. Very slow loss could be permeation (normal) or subtle valve problem.
Common causes and solutions:
Loose valve core: Hand-tight plus 1/4 turn with valve tool. Don’t over-tighten. Stripping threads is worse than slightly loose.
Damaged o-ring: Valve stem base o-ring seals against rim. If damaged, valve leaks. Replace valve stem.
Improper valve installation: Stem not seated correctly in rim. Remove and reinstall, ensure proper seating.
Sealant blockage: Clean or replace core. Clean sealant from valve body if needed.
Valve problems are annoying but easily fixed once identified.
Wheel Trueness and Alignment Checks
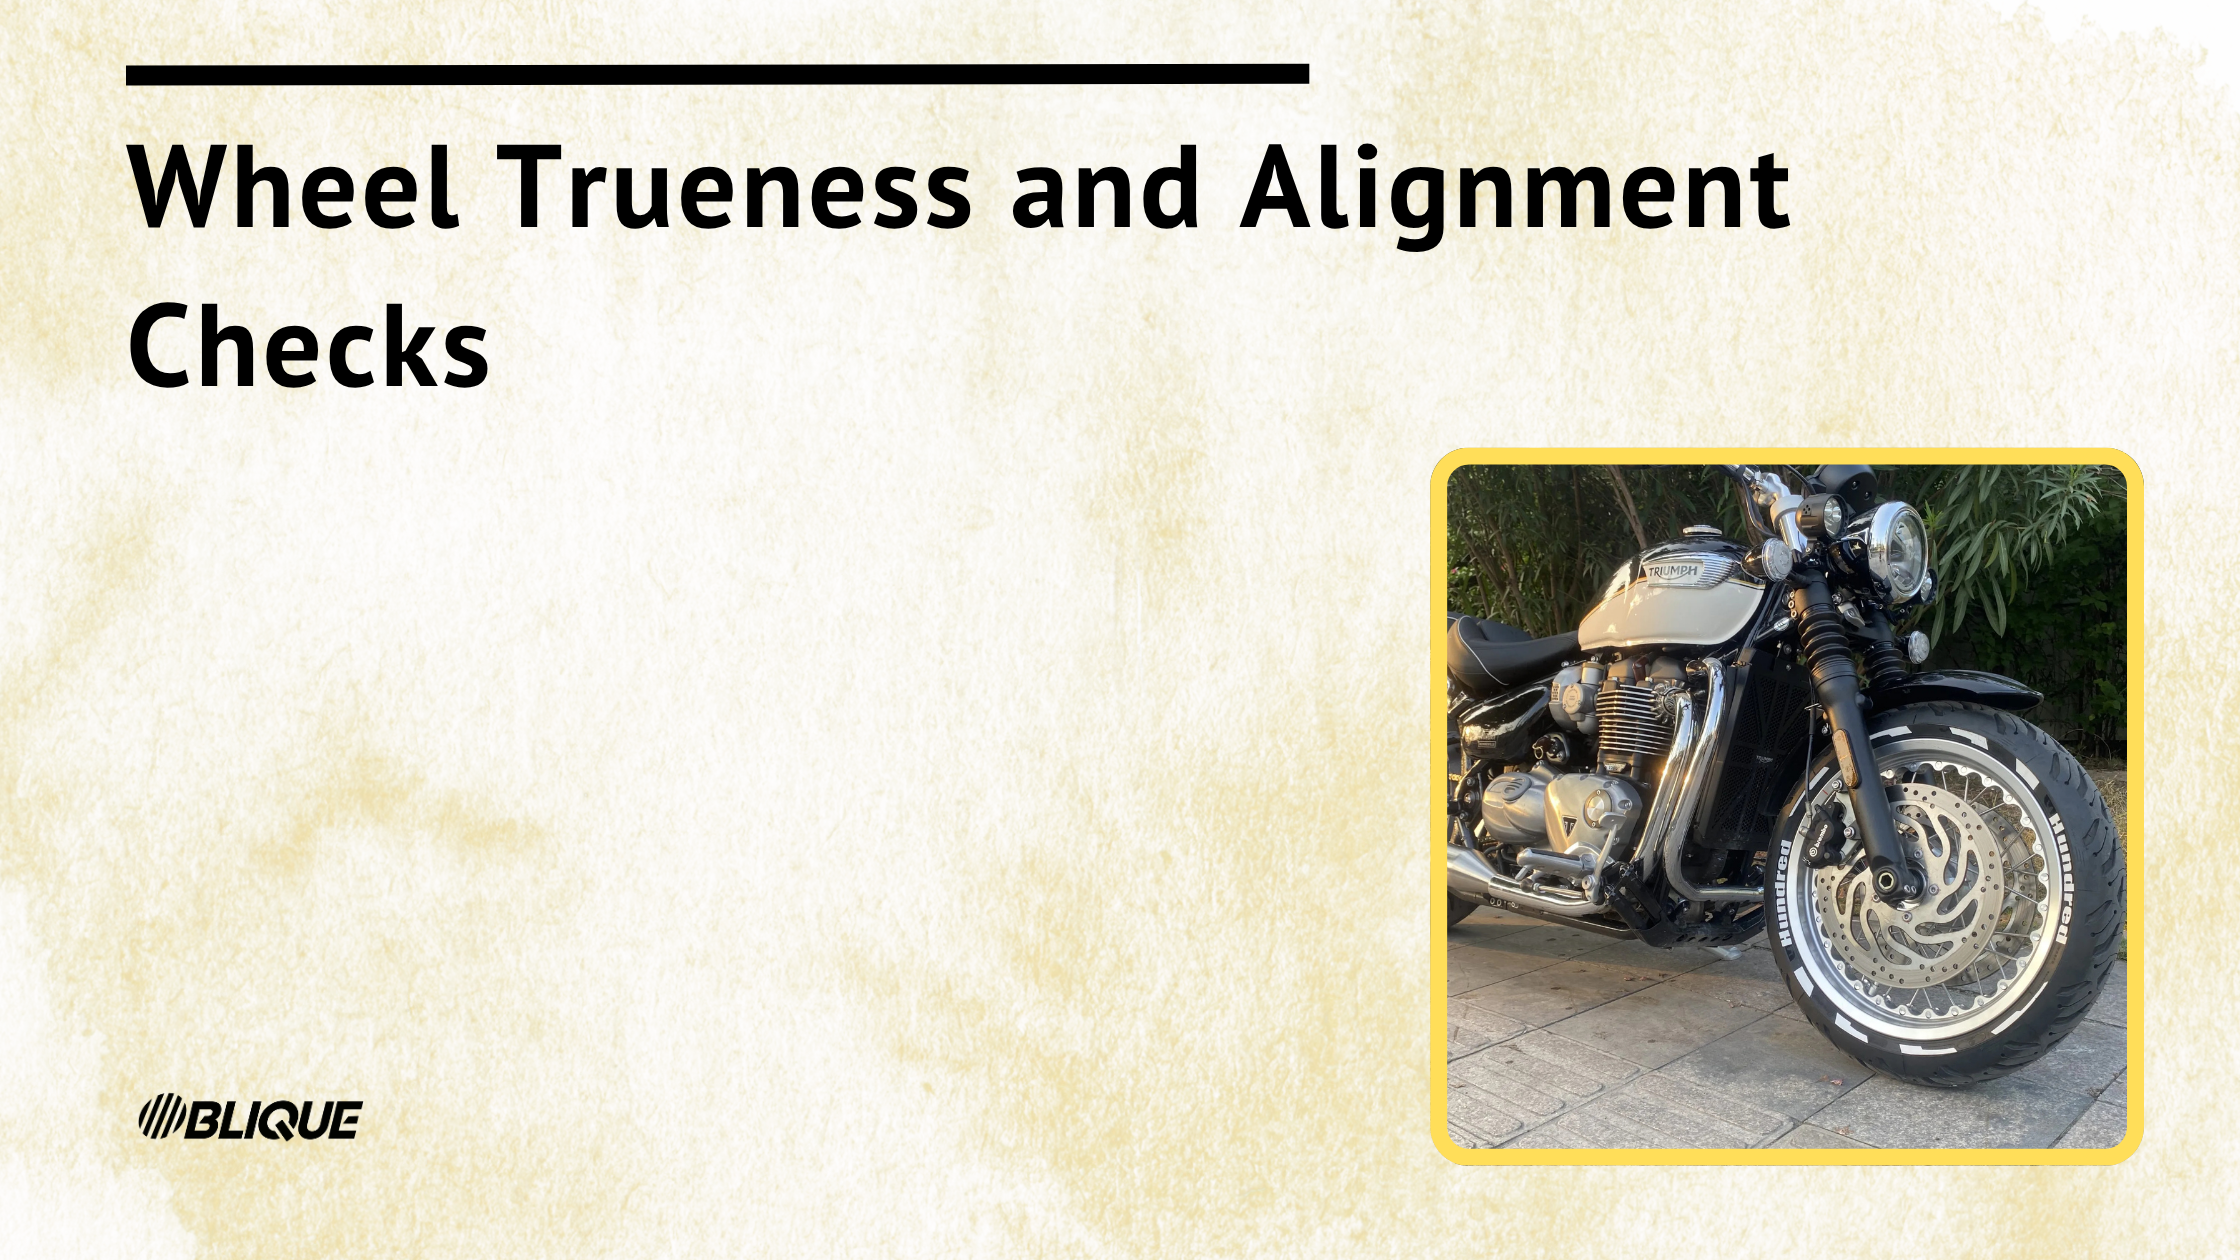
A true wheel rolls smoothly. An untrue wheel causes vibration, uneven wear, handling issues. Affects safety.
Checking trueness is straightforward. Fixing trueness on Kineo wheels requires professional help.
Performing a Visual Trueness Inspection
Setup: Lift the bike on a center stand or paddock stand. Wheel must spin freely.
Lateral check (side-to-side wobble):
- Spin wheel slowly
- Position yourself above and behind wheel
- Watch the rim edge against a fixed reference (brake caliper works well)
- Look for the rim moving toward and away from the reference point
- Note how much movement and where
Radial check (up-and-down variation):
- Spin wheel slowly
- Position yourself to the side
- Watch rim edge against a reference point
- Look for rim moving up and down relative to reference
- Note any flat spots or hop
What you’re looking for:
- Side-to-side wobble: Rim should track consistently, not wave back and forth
- Up-down variation: Rim should stay at constant height, not rise and fall
- Flat spots or hop: Usually indicates damaged or poorly tensioned area
Acceptable ranges:
- Rear wheel/adventure use: Within 1/8 inch generally acceptable
- Front wheel/street use: Should be minimal, nearly undetectable
Record what you observe. Compare over time. Progressive worsening needs attention.
Professional Wheel Truing: When and Why
When to seek professional service:
- Wobble exceeds acceptable tolerance
- Wheel won’t hold true (keeps going back out)
- After significant impact (even if it looks okay)
- Multiple loose-sounding spokes detected during sound test
- Any concern about wheel integrity
Why professional service for Kineo wheels: Kineo wheels require specialized knowledge. The hub-mounted spoke nipple design differs from traditional wheels. Improper adjustment techniques can damage the proprietary system. Specialized equipment helps.
Remember that Kineo wheels are built using CNC machine precision at the factory. They’re designed to stay true under normal use. If one’s going out of true, there’s usually a reason worth investigating.
Cost of professional service is worthwhile compared to riding on compromised wheels or damaging an expensive wheel through improper adjustment.
Bearing Maintenance and Inspection
Wheel bearings let your wheels spin smoothly. When they go bad, you’ll know it. Grinding, roughness, play in the wheel. Bad bearings are dangerous.
Kineo wheels use quality bearings. But all bearings wear eventually.
How to Check Wheel Bearing Condition
Inspection procedure:
- Lift wheel off ground. Center stand, paddock stand, whatever works.
- Check for play: Grip tire at 12 o’clock and 6 o’clock positions. Try to rock the wheel in and out (toward and away from the bike). There should be minimal play. Noticeable movement indicates bearing wear.
- Check rotation: Spin wheel. Should spin freely and smoothly. Listen for grinding, roughness, any unusual sound.
- Feel for notchiness: Spin slowly by hand. Feel for any catches, resistance points, or uneven rotation.
Warning signs of bearing problems:
- Excessive play when rocking wheel
- Rough or grinding sensation when spinning
- Grinding noise, especially under load
- Notchy rotation (not smooth throughout)
- Visible grease leakage from hub
- Uneven resistance during rotation
Kineo wheels use quality bearings, but every bearing is a wear item. Regular inspection catches problems early.
Bearing Service and Replacement Schedule
Recommended intervals:
- Inspect every 6,000-10,000 miles or annually (whichever comes first)
- Adventure and off-road riding: more frequent inspection (water, mud, impacts stress bearings)
- Street and touring: standard intervals usually fine
Professional service recommended for bearing work. Bearing removal and installation requires proper tools and technique. Improper installation damages bearings immediately.
Signs immediate service is needed:
- Significant play detected
- Grinding noise
- Rough operation
- Progressive worsening since last check
Preventive replacement: Consider replacing bearings every 20,000-30,000 miles depending on use conditions. Preemptive replacement during tire changes is convenient. Cheaper than roadside failure.
Frequently Asked Questions
How often should I check tire pressure on tubeless spoked wheels?
Before every ride. Not negotiable for optimal safety and performance.
Tubeless tires lose pressure naturally over time. About 1-2 PSI per week is normal. Air molecules permeate through rubber. Nothing’s wrong, just physics.
Check more frequently in extreme temperatures. Cold weather drops pressure. Hot weather increases it. Seasonal transitions catch people off guard.
If you’re using sealant, check pressure even more diligently. Sealant can mask slow leaks that you’d otherwise notice.
Invest in a quality pressure gauge. Digital gauges offer easy reading. Good mechanical gauges last forever. Cheap gauges give inconsistent readings.
TPMS systems provide continuous monitoring if you want technology handling this. Convenient for touring riders especially. Know immediately if pressure drops.
Do Kineo wheels require spoke tension adjustments like traditional spoked wheels?
No. This is one of the major advantages of Kineo’s design.
Traditional spoked wheels with rim-mounted nipples require periodic re-tensioning. Spokes stretch and settle. Wheels go out of true. It’s normal maintenance.
Kineo’s proprietary spoke system maintains tension without regular adjustment. The hub-mounted nipple design and unique wheel architecture keep things stable. This isn’t marketing hype. It’s how the engineering works.
Periodic checks are still recommended. Verify everything remains solid. But you’re checking for problems, not performing scheduled adjustment.
If you find issues during spoke sound testing, seek professional Kineo-qualified service. Do not attempt DIY spoke adjustments on these wheels. The proprietary system requires proper knowledge and equipment. Amateur adjustment can damage the wheel or void warranty.
Can I use tire sealant with Kineo tubeless spoked wheels?
Yes. Compatible but not required.
Kineo wheels are truly tubeless without sealant. The rim bed has no spoke holes. Nothing to seal. Air stays inside.
Sealant adds extra protection. Small punctures seal automatically. Thorns, glass, small nails get handled before you notice. Many ADV riders consider it cheap insurance.
Drawbacks exist too. Sealant requires periodic replacement. It can clog valve cores. It adds some weight. And you’re maintaining another component.
Street and sport riders often skip sealant. Touring and adventure riders often use it. Personal preference based on risk tolerance and riding style.
If you use sealant, maintain it properly. Check levels. Replace when dried out. Clean valve cores regularly.
What’s the difference between Kineo wheels and DIY tubeless conversions?
Big differences. Worth understanding.
Kineo wheels are purpose-built tubeless from the factory.
- Spoke nipples at hub, not rim
- No spoke holes in rim bed
- No tape or sealant required for air retention
- TÜV approved for legal road use
- Engineered system, not an adaptation
DIY conversions seal existing spoke-hole rims.
- Rim tape covers spoke holes
- Sealant may help maintain seal
- Tape degrades and needs replacement
- Spoke adjustment can compromise seal
- Not officially approved for road use
- Potential for leaks, especially over time
DIY conversions work. Many riders use them successfully. But they require more attention, more maintenance, and carry more uncertainty.
Kineo represents different philosophy. Pay more upfront for superior reliability, easier maintenance, guaranteed performance, and legal compliance.
How do I know if my wheel is out of true?
Spin test is the basic check.
Lift the wheel off the ground. Spin slowly. Watch the rim against a fixed reference point. Brake caliper works well. Frame member works too.
Look for wobble side-to-side (lateral movement). Look for up-down variation (radial movement). Note how much and where.
Acceptable tolerance is roughly 1/8 inch for rear wheels and adventure use. Front wheels and street use should be tighter.
You might also feel trueness problems while riding. Pulling to one side. Vibration at certain speeds. Uneven handling. These symptoms can indicate out-of-true wheels, though other causes exist too.
If uncertain, professional check is worthwhile. Kineo wheels are built to tight tolerances using CNC precision. They should stay true with normal use. If one’s going out of true, find out why.
What should I do if I get a flat on the road?
Don’t panic. Tubeless flats are manageable.
Step-by-step:
- Pull over safely. Away from traffic. Level surface if possible.
- Assess the damage. Find the puncture. May have self-sealed if you’re using sealant.
- If leaking, use tire plug kit.
- Clean the hole with the included tool
- Thread plug through insertion tool
- Insert plug into puncture firmly
- Pull tool out, leaving plug behind
- Trim excess plug material
- Reinflate. Portable compressor or CO2 inflator. This is why you carry one.
- Check seal. Soapy water shows bubbles if still leaking.
- Monitor pressure during ride. Stop and check periodically.
- Seek professional repair when possible. Plugs are often considered temporary. Get proper assessment and possible plug-patch repair.
- Carry a spare tube. Backup for emergency situations. Sidewall damage or large punctures may not plug successfully. A tube gets you home.
If you’re unsure about the repair, call for assistance. Riding on compromised tire isn’t worth the risk.