Don't miss our new customer offer - up to 8% OFF! ( Code: kineo8off )

How to Mount Tubeless Tires on Spoked Wheels: The Complete Step-by-Step Guide

Spoked wheels look incredible. Always have. There’s something about wire spokes that cast wheels just can’t replicate. But traditional spoked wheels came with a major hassle: tubes.
Tubes mean pinch flats. Tubes mean roadside tire changes that take forever. Tubes mean that sinking feeling when you hear air hissing out somewhere in the middle of nowhere.
Tubeless spoked wheels fix this. You get the classic aesthetic. You get modern tubeless convenience. You get peace of mind.
Kineo wheels pioneered this space with true tubeless spoked wheel solutions. No sealing tape. No compromises. Just wheels engineered from the ground up for tubeless operation. But whether you’re running Kineo wheels, factory tubeless spoked wheels from BMW or KTM, or exploring conversion options, you need to know how to mount tires properly.
This guide covers everything. What tubeless spoked wheels actually are. How to identify if your rims are suitable. The complete step-by-step installation process. And how to compare different solutions so you pick the right approach.
This is professional-level installation guidance. The kind of detail you’d get from an experienced wheel tech, not generic advice from someone who’s never actually done it.
What are tubeless spoked wheels?
Tubeless spoked wheels are rims designed to hold air without an inner tube. The key challenge is obvious: traditional spoked wheels have holes where spoke nipples pass through the rim bed. Air escapes through those holes. You need a tube to hold pressure.
Tubeless spoked wheel technology solves this differently depending on the system.
Some designs use outboard spoke flanges. The spoke attachment points sit outside the air chamber entirely. Kineo uses this approach. The rim bed is sealed because spokes never penetrate it.
Other designs use inboard spoke systems or professional sealing methods. The nipples might still pass through the rim, but specialized sealants or bands cover them completely.
Traditional spoked wheels require tubes because air just leaks right through those nipple holes. Tubeless spoked wheels eliminate that path one way or another.
BMW GS models, Yamaha Ténéré, KTM Adventure bikes. Many premium adventure motorcycles now ship with factory tubeless spoked wheels. Manufacturers figured out riders want both the look and the convenience. It’s not experimental technology anymore.
Key differences: MT vs WM rims
This matters. A lot. Get this wrong and you’re risking serious injury.
MT rims are Motorcycle Tubeless rims. They have safety beads. These are raised lips at the bead seat area that physically lock the tire bead in place. When pressure drops or you hit an impact, the tire stays seated on the rim.
WM rims are Wire Mounted rims. Traditional tube-type rims. No safety beads. The tire bead just sits in a groove.
Here’s why this matters for tubeless: without safety beads, a tubeless tire can blow off the rim. Sudden pressure loss from a puncture. Hard impact on a pothole. The bead unseats. All your air disappears instantly. At highway speed, this can be catastrophic.
MT rims are absolutely essential for safe tubeless conversion. Non-negotiable.
The safety bead function is simple but critical. That raised lip catches the tire bead and prevents it from sliding inward off the rim edge. Even if pressure drops significantly, the tire stays mounted. You might be riding on a deflating tire, but at least it’s still on the rim.
Attempting tubeless on WM rims is genuinely dangerous. I’ve heard stories. None of them end well. If your rims don’t have proper safety beads, you either need different rims or you stay with tubes. Period.
Benefits of Tubeless Tires on Spoked Wheels
Why bother with tubeless on spoked wheels? Because the benefits are substantial.
Classic spoked aesthetic with modern performance. You don’t have to choose between looking good and riding smart. Tubeless spoked wheels give you both.
Reduced risk of sudden deflation. When a tube gets punctured, air escapes instantly through the hole. When a tubeless tire gets punctured, air has to leak past the object stuck in the tire. It’s slow. Often very slow. You notice the handling changing before you’re riding on a flat rim.
Easier roadside repairs. Plug kits work on tubeless tires. Stick a plug in, reinflate, keep riding. Try that with a tube. You’re pulling the wheel, breaking the bead, fishing out the tube, patching or replacing it, wrestling everything back together. Roadside tube changes suck.
Lower weight. Inner tubes aren’t heavy individually, but every gram matters in rotating mass. No tube means less unsprung weight. Better suspension response. Quicker handling.
Cooler running temperatures. Tubes trap heat. Friction between tube and tire generates additional heat. Tubeless tires dissipate heat more efficiently. This extends tire life.
Ability to run lower pressures. Off-road riders love this. Lower pressure means better traction on loose surfaces. With tubes, low pressure risks pinch flats. With tubeless, you can air down without worrying about pinching a tube against the rim.
Self-sealing with sealant. Add proper tire sealant and small punctures seal themselves. You might not even know you picked up a nail until you see the sealant plugging the hole.
Better handling overall. Reduced rotational mass improves everything. Acceleration, braking, direction changes.
Real world scenario: You’re 80 miles from anywhere on a gravel road. Pick up a nail. With tubes, you’re stopping for 30-45 minutes minimum. Sweating through a tire change. Hoping you brought a spare tube and it’s not also punctured. With tubeless, you notice the pressure dropping, pull over, stick in a plug, pump it back up, and keep riding. Maybe 10 minutes.
Why tubeless is safer than tubes
Tubes fail suddenly. Catastrophically sometimes.
When something punctures a tube, air rushes out through the hole. There’s nothing stopping it. Depending on puncture size, you can go from full pressure to flat in seconds. At highway speed, that’s genuinely dangerous. The rear end starts swapping. Steering gets weird. Riders crash.
Tubeless tires lose air gradually. The puncturing object often stays lodged in the tire, partially blocking the hole. Air has to leak around it. You notice the bike handling differently. You have time to slow down, find a safe spot, assess the situation.
Many punctures actually seal around the object. Nail goes in, rubber compresses around it, air leakage is minimal. Some riders have ridden miles without realizing they had a nail embedded in the tire.
Heat buildup is another safety factor. Tubes generate friction heat against the tire carcass. This heat can cause failures, especially on hot days during extended highway riding. Tubeless tires run cooler. One less failure mode to worry about.
This is why premium adventure bikes come with tubeless spoked wheels now. BMW figured it out. KTM figured it out. Yamaha figured it out. When you’re designing a motorcycle meant to travel far from help, sudden catastrophic tire failures aren’t acceptable.
Performance advantages for motorcycles
Beyond safety, tubeless setups genuinely perform better.
Reduced unsprung weight improves suspension response. Your forks and shock don’t have to control as much mass bouncing over bumps. Cornering gets sharper. The bike changes direction more willingly.
Heat dissipation matters for performance too. Cooler tires grip better. Hot tires get greasy. If you’re pushing hard on a canyon road or during a track day, tubeless tires maintain optimal operating temperature more consistently.
Tire sealant adds another layer of puncture protection. Small holes seal automatically. You might pick up a thorn field crossing a trail and never know because the sealant handled everything.
Fuel efficiency improves slightly with reduced rotating mass. Not dramatically. But everything adds up on long tours.
The off-road benefits deserve emphasis. Running lower pressures without pinch flat risk is huge. On loose gravel, sand, or rocky trails, aired-down tires conform to terrain better. More surface contact. More traction. More confidence. Tube riders either risk pinch flats or run pressures high enough to bounce around like a basketball.
Step-by-Step: How to Mount Tubeless Tires on Spoked Wheels
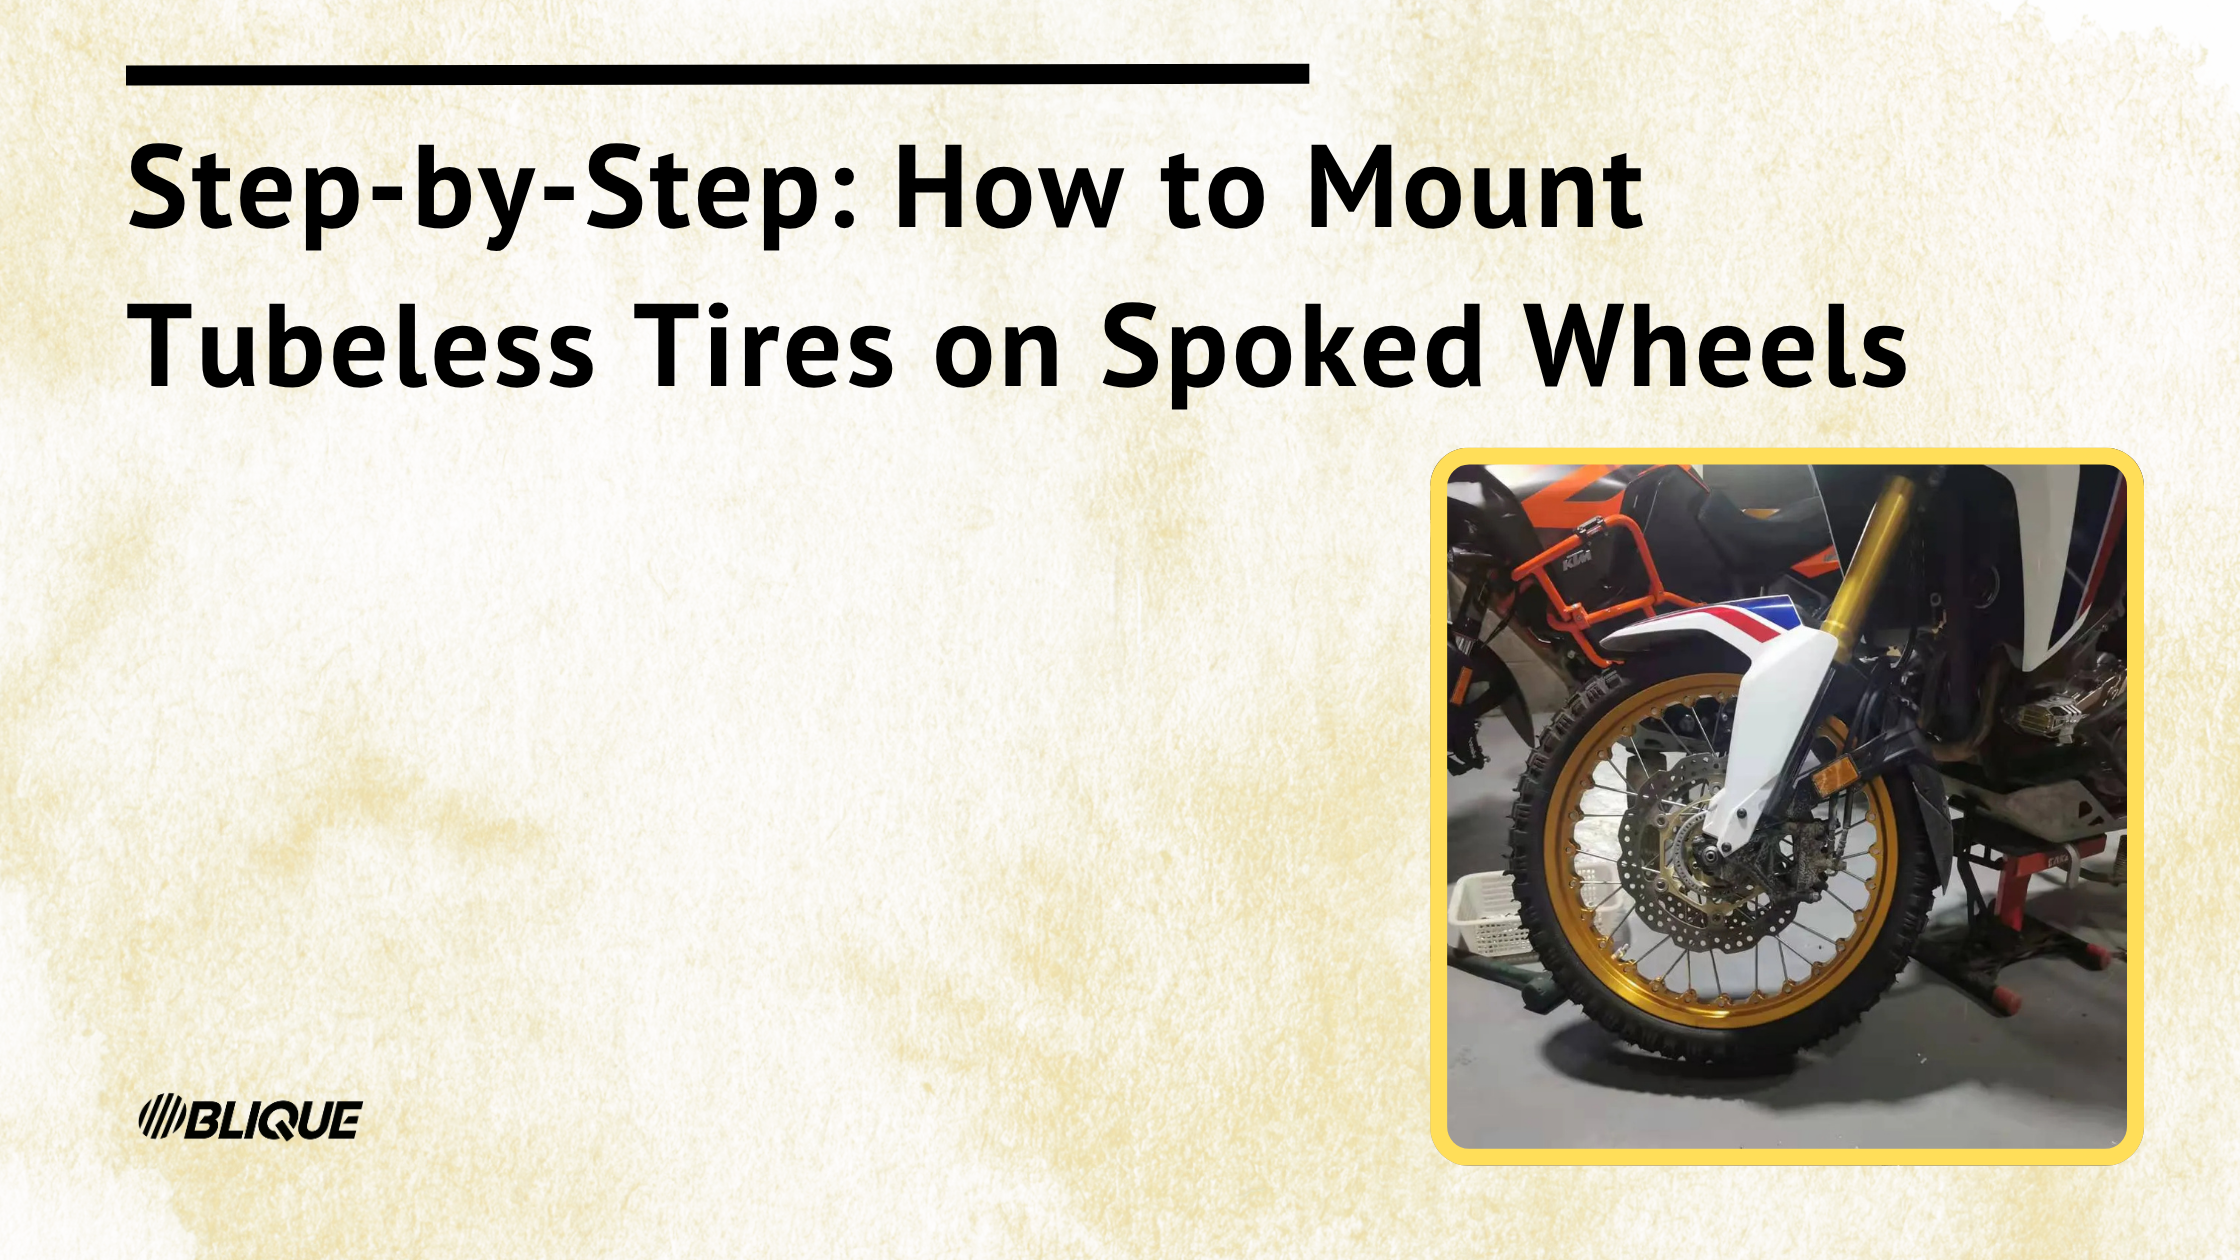
This is the detailed professional installation process. I know it looks like a lot of steps. It is. But taking time and following each step ensures success.
First installation always takes longest. You’re learning the process. The tire is unfamiliar. Everything feels awkward. Subsequent installations go much faster once you’ve done it a few times.
Read this entire section before starting. Seriously. Understanding where you’re headed makes each step make more sense. You’ll also catch potential issues before they become problems.
Step 1: Prepare and inspect the rim
Remove the old tire if there is one. Get down to bare rim.
Now inspect everything. Carefully. Any damage compromises the tubeless seal.
Look for dents in the rim. Cracks anywhere. Bent edges at the bead seat. These aren’t cosmetic issues. They’re leak points. A dented rim might hold a tube fine but leak constantly with tubeless.
Check spoke tension while you’re at it. Loose spokes need addressing before tire installation. On traditional sealed rims, loose spokes can compromise the sealing system. On Kineo wheels, spoke tension doesn’t require adjustment, but verify nothing looks wrong.
Clean the rim thoroughly. Isopropyl alcohol or brake cleaner works well. Remove all dirt, old sealant residue, grease, anything. Pay extra attention to the bead seat area. This is where the tire contacts the rim and creates the seal. Any contamination here causes leaks.
Let the rim dry completely before proceeding. Wet surfaces don’t seal properly.
For Kineo wheels specifically: verify the rim bed sealing is intact. Look for any visible damage to the tubeless seal. These wheels don’t have tape or sealant covering spoke holes because the spokes don’t penetrate the rim bed, but check that the rim surface hasn’t been damaged.
Check for burrs or sharp edges anywhere the tire will contact. These can damage tire beads during mounting.
Verify the valve hole is clean and undamaged. This is a common leak point if the hole is wallowed out or contaminated.
Step 2: Install the tubeless valve stem
Valve stem length matters. Too short and it won’t seal properly against the rim. Too long and it can bend or break.
Select the correct length for your rim depth. Measure if you’re unsure. The valve should extend far enough for easy pump attachment with some extra room.
Insert the valve from inside the rim, passing outward through the valve hole.
Make sure the rubber seal or grommet positions properly against the rim bed. This seal does the work. If it’s twisted or bunched, you’ll have a leak.
Tighten the lock nut finger-tight first. Then snug it with a valve core tool. Don’t overtighten. Crushing the rubber seal defeats its purpose. Stripping threads creates problems.
The valve should sit perpendicular to the rim surface. Angled valves indicate improper seating.
Test it: gently tug on the valve. It should be secure without any movement or play.
Don’t install the valve core yet if you removed it. Leave the core out for now. This comes later and actually makes bead seating much easier because air flows faster.
Position the valve at 3 o’clock or 9 o’clock on the rim. This makes tire installation easier in the following steps.
Step 3: Check tire direction and prepare tire
Look at the tire sidewall. Find the directional arrow. The tire must rotate the correct direction for the tread pattern to work properly. Running backward affects handling, water evacuation, and wear patterns.
Some tires also have front/rear designation. Check this if applicable. Don’t mount a rear-specific tire on the front.
Working in cold conditions? Warm the tire first. Cold rubber is stiff and fights installation. Place the tire in direct sun for 15-20 minutes. Or bring it into a warm indoor area. Pliable rubber makes everything easier.
Inspect the tire beads for damage. Look for debris stuck to them. Check for manufacturing defects. Any issues here cause sealing problems.
Lubricate the tire beads lightly. Soapy water solution works fine. Proper tire mounting lubricant works too. This helps installation and helps the beads slide into the bead seats during inflation.
Avoid petroleum-based products. They can damage rubber compounds over time.
Some installers prefer dry mounting, believing it creates a better seal. Both methods work. Lubrication makes installation significantly easier, especially with tight-fitting tires.
Step 4: Mount the first tire bead
Start on the side opposite from the valve stem location.
Work the first bead over the rim edge. Push it down into the rim’s center channel. That dropped center section provides the slack you need to get the tire on.
Progress around the rim evenly. Don’t just force one side over completely, then the other. Work both sides simultaneously, inch by inch.
As you progress toward the valve, keep the already-installed portion sitting deep in the center channel. This matters. If that section rides up on the bead seat, you won’t have enough slack to get the final section over the rim.
Finish mounting the first bead at the valve location.
You should be able to complete this entirely by hand on most tire/rim combinations. If you need tire levers, work carefully. Gouging the rim damages the sealing surface. Pinching the tire bead damages the tire.
When done, the first bead should sit completely inside the rim. No sections should hang on the rim edge.
Step 5: Mount the second tire bead
First bead is fully installed. Now the harder part.
Begin the second bead opposite the valve stem. Same starting point philosophy.
Work the bead over the rim edge, progressing evenly around the wheel. Keep both beads pushed deep into the rim center channel as you go. This is critical. Both beads in the channel provides maximum slack for getting that last section over.
As you approach the final section, double-check bead position all the way around. If either bead has climbed up onto the bead seat somewhere, push it back down into the center channel before continuing.
Continue working the second bead on. Use tire levers only if absolutely necessary. Plastic levers with rim protectors if you must.
If the tire is very tight: apply more soapy water lubrication to the bead and rim interface. Verify both beads are truly deep in the center channel. Work in small increments rather than forcing large sections.
Finish at the valve location.
Some tires fit very tightly. This is normal. Actually good for tubeless sealing. Tight beads create better contact. Just requires patience and technique.
The final section may require a plastic tire lever. Go slow. Use rim protectors. Scratching the bead seat creates a potential leak point.
Step 6: Initial tire seating (dry inflation)
Before adding sealant, seat the tire beads first. This verifies everything is installed correctly.
Remove the valve core using a valve core tool. This allows air to flow much faster into the tire. Critical for getting beads to pop into place.
Position the wheel so the valve is at the top.
Connect your air compressor or high-volume pump to the valve stem.
Inflate quickly. You need rapid air volume to “pop” the beads into the bead seats. A slow hand pump often can’t deliver enough volume fast enough.
Listen for popping sounds. You should hear distinct pops as each bead snaps into place. Both sides should pop.
Inflate to the recommended pressure or slightly above. Check the tire sidewall for maximum pressure rating. Typically 35-50 PSI for motorcycle tires.
If beads won’t seat:
- Deflate completely
- Check that both beads are sitting in the center channel
- Apply soapy water to the bead/rim interface
- Try again with more rapid air delivery
Alternative method if you’re struggling: wrap a ratchet strap around the tire circumference. Tighten it to push the tire beads outward toward the rim. Then inflate while the strap holds everything in position.
Step 7: Verify proper bead seating
This step is important. Don’t skip it.
Inspect both sides of the tire all the way around the wheel.
Look for the bead seat line. This is a molded line on the tire sidewall near where it meets the rim. It should be uniformly positioned above the rim edge at the same distance all the way around.
If you see low spots: mark them, deflate the tire slightly, work that section (push the bead up, apply lubrication), then reinflate.
The bead must be fully and evenly seated before adding sealant. Uneven seating causes handling issues and potential leaks.
Rotate the wheel slowly while checking. An inconsistent gap between the bead seat line and rim edge means improper seating.
Some tires show small bubbles at the bead initially. This is normal. Sealant will address minor seepage.
Once you’ve verified proper seating all the way around on both sides, fully deflate the tire for sealant addition.
Step 8: Add tubeless tire sealant
Determine the correct sealant amount. General guidelines: 60-80ml for smaller tires (17-19 inch), 80-120ml for larger tires (21 inch). Check sealant manufacturer recommendations for specific guidance.
Three methods for adding sealant:
Method 1: Through the valve stem (recommended)
Keep the valve at 3 or 9 o’clock position. Remove the valve core if you haven’t already. Use a sealant injector or a bottle with a valve adapter. Inject the measured sealant amount. Reinstall the valve core.
This is the cleanest method. Recommended for tires already mounted.
Method 2: Partially unmount the tire
Break one bead near the valve. Rotate the wheel so the opening is at the bottom. Pour sealant directly into the tire. Remount the tire section.
Works fine but messier and more labor.
Method 3: Pour before final bead mounting
With the first bead and most of the second bead installed, but before completing the second bead, pour sealant into the tire interior. Then finish mounting the second bead.
Requires good timing so sealant doesn’t leak out during final mounting.
Shake the sealant bottle well before use. Sealant separates when sitting. You want the fibers and particles distributed evenly.
Step 9: Final inflation and bead seating
Reinstall the valve core if removed. Tighten it securely. A loose valve core leaks.
Inflate the tire to manufacturer’s recommended pressure. Check both the tire sidewall and rim specifications. Use the lower of the two if they differ.
Monitor the pressure gauge while inflating. Pressure should climb steadily. If it plateaus or rises very slowly, you have a leak somewhere.
Re-check bead seating around the entire circumference. Sometimes beads shift during sealant addition.
Spin the wheel slowly and listen for air leaks. Hissing indicates a problem.
Common leak points: valve stem (reseat or retighten), bead seats (sealant usually handles these).
Small bead leaks often self-seal as sealant works its way into the gap. Continue to the next step if leakage is minor.
Step 10: Distribute sealant evenly
With the tire at proper pressure, you need to coat the entire interior with sealant.
Rotate the wheel slowly in both directions.
Tilt the wheel to various angles while rotating. Horizontal. Vertical. Everything in between.
Bounce the wheel gently on the ground a few times. This helps sealant reach the bead areas.
Goal: coat the entire inner tire surface and both bead areas with sealant.
Watch for sealant weeping at the beads. Small amounts appearing at the bead indicate the sealant is working into minor gaps. This is good.
Small bubbles of sealant at the bead are normal. They’ll seal within minutes.
Let the wheel sit for 10-15 minutes. Sealant needs time to settle into any leak points and begin sealing.
Step 11: Check for leaks and final pressure adjustment
Apply soapy water around the valve stem, both bead seats, and valve core area. Watch for bubbles. Bubbles mean air is escaping.
Check tire pressure after 30 minutes. Then again after 2 hours. Then again after 24 hours.
Some pressure loss is normal initially as sealant works. Add air as needed.
After 24 hours, the tire should hold pressure with minimal loss. 1-2 PSI per week is normal even with a healthy seal. Temperature changes affect pressure too.
If you have excessive pressure loss:
- Inspect for punctures
- Check valve core tightness
- Verify bead seating again
- May need additional sealant
Once pressure is stable, adjust to your final riding pressure per tire and rim specifications.
Off-road use: typically 12-25 PSI depending on terrain and tire. Street and touring: 30-42 PSI typically. Check manufacturer specs for your specific tire and load.
Install the valve cap to protect the valve core from dirt and debris.
Consider TPMS installation for ongoing pressure monitoring. Highly recommended for adventure riding or remote travel.
Step 12: Reinstall wheel on motorcycle
Final steps. Don’t get sloppy here.
Ensure brake rotors are clean and undamaged. Wipe them down if you handled them during the process.
Align the wheel properly in the fork (front) or swingarm (rear). Spacers must be in correct positions on correct sides.
Insert the axle. Tighten to manufacturer’s specified torque. This is important. Under-torqued axles can shift or loosen. Over-torqued axles damage threads or bearings.
Tighten axle pinch bolts if your bike has them. Follow proper sequence and torque specifications.
Check wheel alignment before final tightening. Misalignment causes handling problems and accelerates tire wear.
Ensure brake calipers align properly with rotors. No rubbing. No binding.
Spin the wheel freely. It should rotate without resistance or sound.
Test the brake lever or pedal feel before riding. Brakes should engage properly with normal travel.
Take a short test ride at low speed. Get a feel for how the tire handles. Then stop and recheck all bolts and settings.
Comparing Professional vs DIY Spoked Wheel Solutions
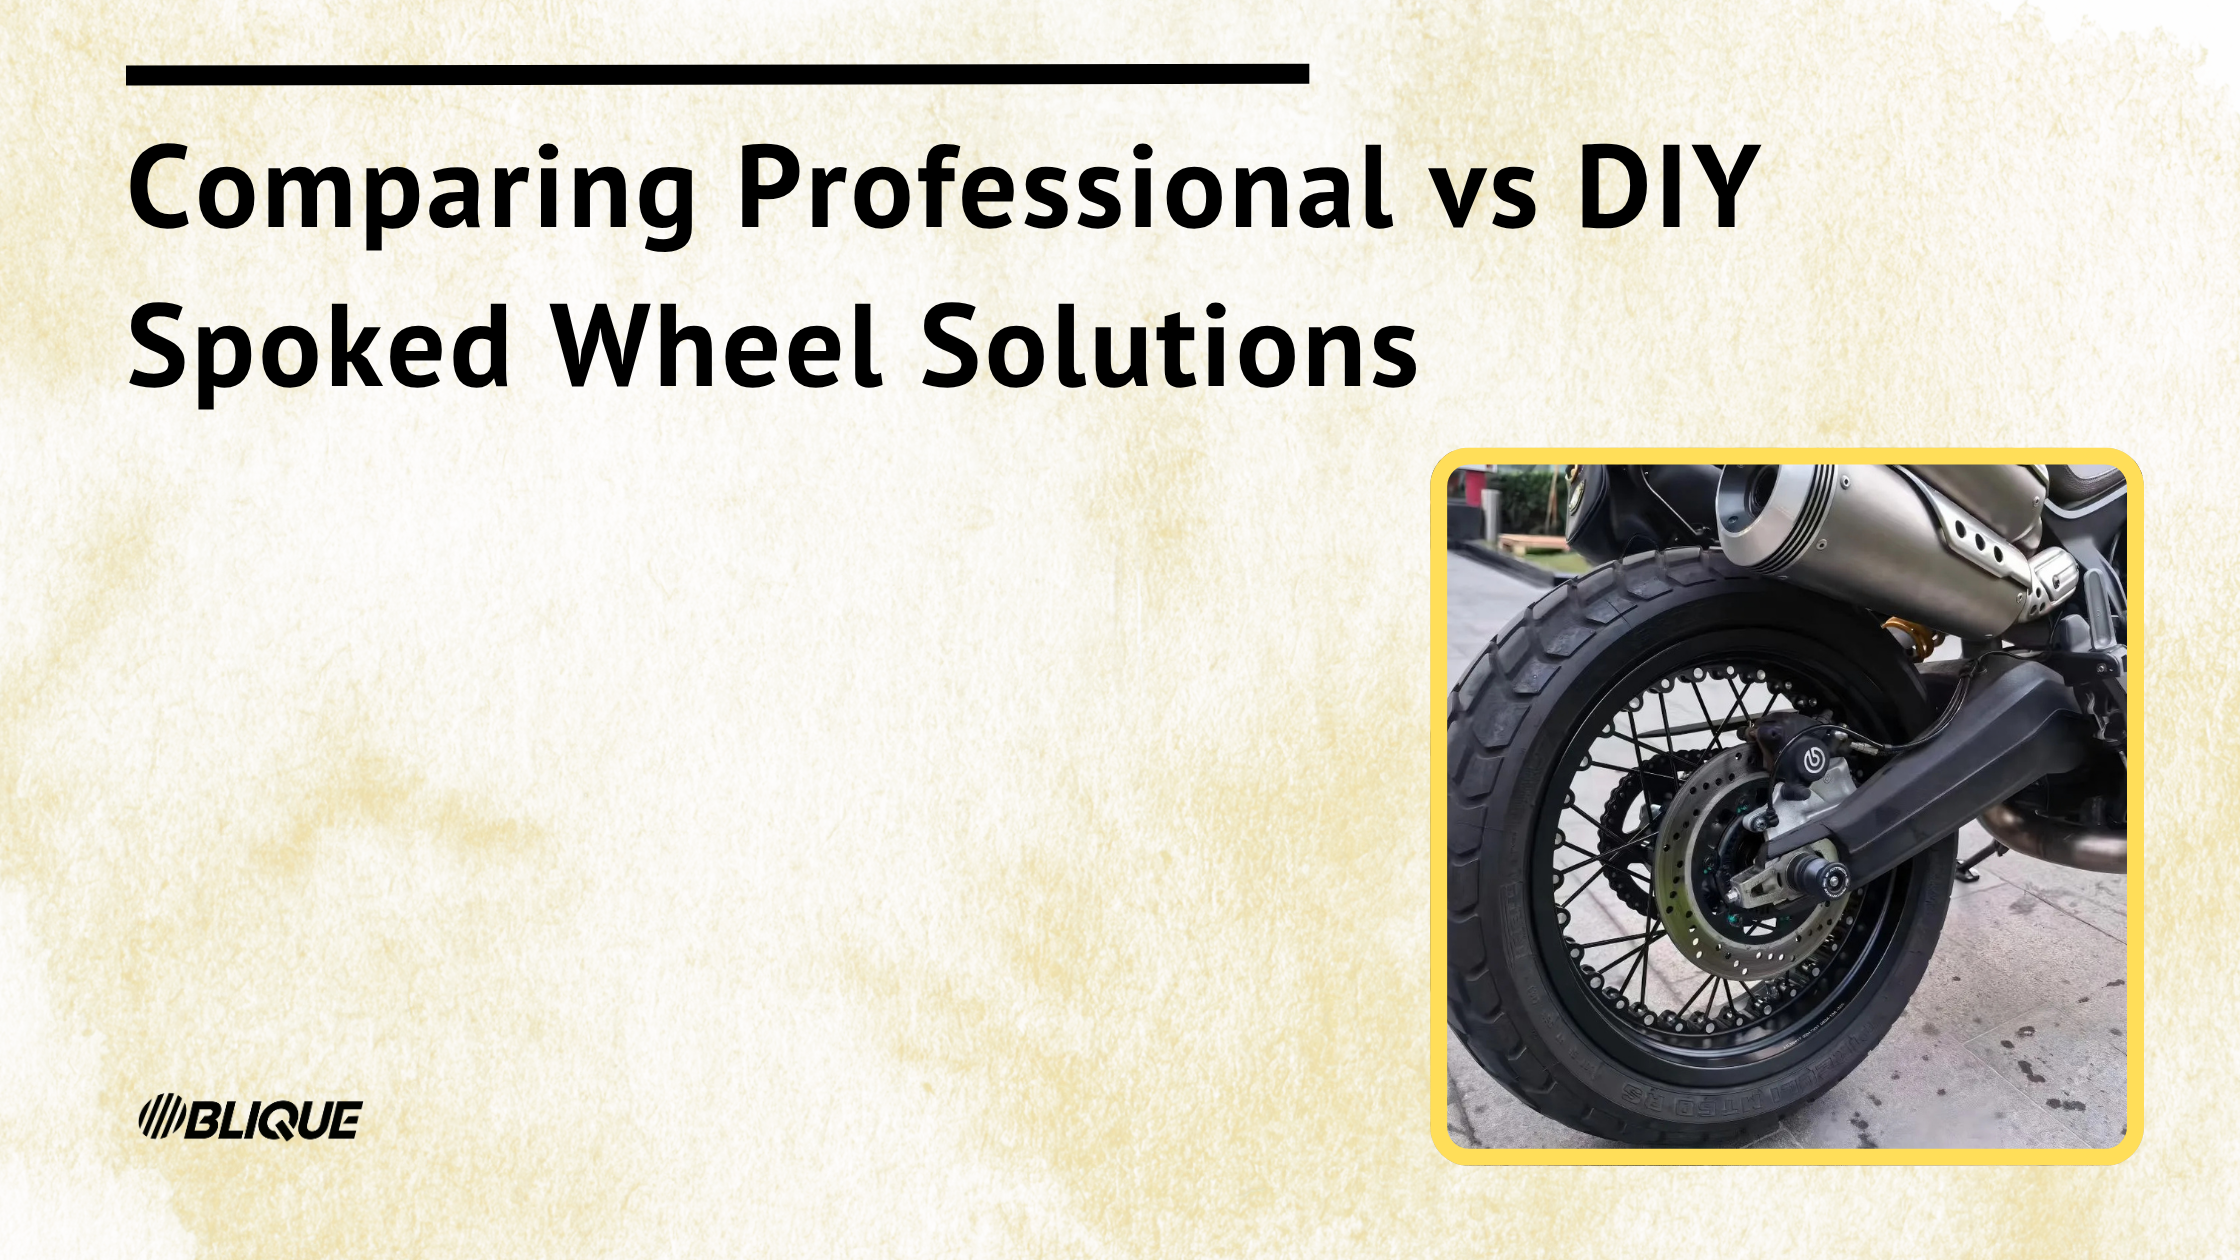
Riders have multiple options for tubeless spoked wheels. Each has pros and cons depending on your budget, mechanical skill level, and intended use.
Understanding your options helps you choose the right approach for your situation.
Factory tubeless spoked wheels (Kineo, OEM)
Premium factory solutions like Kineo wheels are engineered specifically for tubeless operation from the ground up.
Advantages:
Truly tubeless design. No tape or sealants covering spoke holes because the spoke attachment points don’t penetrate the air chamber. The rim bed is inherently sealed.
TÜV certified and approved for road use. This matters for insurance, registration, and legal compliance in some regions.
Precise manufacturing ensures perfect sealing. Factory quality control catches issues before wheels ship.
Lightweight construction. Kineo uses 7000 series aluminum. Weight savings improve handling.
For Kineo specifically: spokes never require tensioning. Their sealed system eliminates this maintenance task entirely.
Plug-and-play installation. Direct replacement for factory wheels. No modifications needed.
Professional quality and reliability. These systems are proven across thousands of miles by thousands of riders.
Available for a wide range of motorcycles. Supermoto, adventure, touring, cruiser applications.
Disadvantages:
Highest cost. Expect $1000-3000+ per wheel depending on application. Premium products carry premium prices.
Limited availability for some models. Not every motorcycle has a Kineo option.
Long lead times. Custom builds may take 3-6 weeks.
Professional installation recommended for best results. While possible to DIY, these wheels deserve proper setup.
Best for:
Riders wanting absolute reliability. If failure isn’t acceptable, invest in proven equipment.
Those willing to invest in a premium solution. Buy once, cry once.
Bikes used for serious touring or adventure travel. When you’re far from help, quality matters.
Riders who value warranty and certified safety standards.
Kineo wheels specifically: compatible with both tubeless and tubed tires, giving you flexibility.
Professional rim sealing services
Services like BARTubeless, CWC Airtight, and Woody’s Wheel Works seal existing spoked rims for tubeless use.
How it works:
Specialized sealants or bands get applied to the rim bed. This seals the spoke nipple holes permanently or semi-permanently. Professional installation ensures proper sealing. Many services include warranty coverage. BARTubeless offers 4-year warranty.
Advantages:
Less expensive than new wheels. Typically $150-300 per wheel for the sealing service.
Can use existing wheels and hubs. No need to replace perfectly good components.
Professional installation ensures proper sealing. These services know what they’re doing.
Most systems allow spoke tension adjustment after sealing. Important for ongoing maintenance.
Disadvantages:
Requires MT-type rims for safety. WM rims cannot be safely converted regardless of sealing quality.
Some reduction in rim well depth. Can affect tire mounting ease.
May make future spoke adjustments more difficult on some systems.
Not all systems guaranteed to seal perfectly. Results vary.
Requires shipping wheels or finding local service provider. Added time and logistics.
Best for:
Riders with quality existing wheels worth keeping. Why replace good hubs and spokes?
Budget-conscious riders wanting professional quality. Better than DIY, cheaper than new wheels.
Those comfortable with semi-permanent modification to their wheels.
Important: always verify your rims are MT-type before pursuing professional sealing. Reputable services will check, but you should know beforehand.
DIY rim sealing methods
Various DIY approaches exist. Tubeless rim tape (bicycle-style). 3M sealing tapes like 4411 or 4412. Sealant applications using Flex Seal, silicone, or marine sealants. The Tubliss system with its high-pressure inner bladder.
Important disclaimer: DIY conversions are NOT manufacturer approved and carry safety risks. Understand this before proceeding.
Advantages:
Lowest cost. $20-100 per wheel depending on materials.
Can be done at home with basic tools.
Allows experimentation and customization.
Reversible if unsuccessful.
Disadvantages:
Reliability varies greatly. Some DIY conversions work fine. Others fail repeatedly.
Requires MT-type rim for safe operation. No exceptions.
May develop leaks over time, especially after spoke tension adjustments.
Not suitable for high-speed highway use or extended touring. Too risky when failure consequences are severe.
Results vary dramatically based on skill and materials used. What worked for someone on YouTube might not work for you.
Best for:
Off-road and trail riders seeking puncture resistance benefits at low speeds.
Budget-limited riders willing to accept compromises and monitor carefully.
Experienced mechanics comfortable with experimental modifications.
Riders who frequently check and maintain their systems.
Critical warnings:
Never attempt DIY tubeless conversion on WM-type rims. The tire can blow off. This is not an exaggeration.
Always monitor pressure carefully with TPMS.
Consider DIY conversions as experimental and at your own risk.
Not recommended for primary transportation or remote travel where failure leaves you stranded.
Can any spoked wheel be converted to tubeless?
No. The wheel must have an MT-type rim with safety beads.
WM-type rims without safety beads are unsafe for tubeless conversion. The tire can blow off the rim under pressure or impact. Full stop.
How to identify rim type:
Check the rim stamp or marking. Should indicate “MT” for Motorcycle Tubeless.
Visually inspect for raised edge or lip at the bead seat area. Safety beads are visible.
Consult manufacturer specifications for your specific wheel.
If you have WM rims and want tubeless capability:
You must replace the rim with an MT-type rim. This requires re-lacing the wheel with a new rim using your existing hub.
Or consider complete wheel replacement with factory tubeless spoked wheels like Kineo.
Safety is paramount. Never compromise on proper rim type. The consequences of getting this wrong are severe.
How long does a tubeless tire installation take?
Timeline varies by experience and specific challenges encountered.
First time installation: 45-90 minutes per wheel. You’re learning the process. Everything takes longer.
Experienced installer: 20-30 minutes per wheel. You know the tire, you know the technique, everything flows.
If the tire won’t seat easily: Add 15-30 minutes for troubleshooting.
Allow extra time for:
Rim preparation and cleaning Wheel removal and installation on the motorcycle Sealant distribution and leak checking Pressure stabilization verification (checking over hours)
Professional installation: Typically 1-2 hours for a pair of wheels including verification.
Tip: don’t rush the process. Proper installation ensures safety and reliability. Cutting corners to save 10 minutes isn’t worth a failed seal at highway speed.
What’s the best sealant for motorcycle tubeless tires?
Popular quality sealants:
Stan’s NoTubes — Originated in the bicycle world but works well for motorcycle tires. Proven track record. Good sealing properties.
Orange Seal — Good sealing ability. Long-lasting formula. Popular with adventure riders.
Slime — Readily available at most auto stores. Affordable. Works adequately for most applications.
Joe’s No-Flats — Another quality option with good sealing performance.
Muc-Off — Newer option gaining popularity.
Factors to consider:
Climate — Some sealants dry out faster in heat. If you ride in hot conditions, choose accordingly.
Intended use — Off-road may benefit from more aggressive sealing formulas.
Temperature range — Some sealants freeze or separate in extreme cold.
Longevity — How often do you want to replace sealant?
Sealing ability — Different products handle different puncture sizes.
General recommendation: 60-120ml per tire depending on size. Smaller tires need less. Larger tires need more.
Avoid car tire sealants. They may not be compatible with motorcycle tire compounds.
Follow manufacturer recommendations for amount and replacement schedule. Most sealants need refreshing every 3-6 months.
Is it safe to run tubeless tires on spoked wheels?
Yes. If done properly with correct equipment.
Safe tubeless spoked wheel systems require:
MT-type rims with safety beads Proper tubeless tire installation Adequate sealant Regular pressure monitoring (TPMS recommended) Proper maintenance and inspection
Factory systems like Kineo, BMW GS wheels, and KTM Adventure wheels are engineered safe. Widely used. Proven across millions of miles globally.
Professional sealing services like BARTubeless and Airtight are generally safe when applied to proper MT rims.
DIY conversions carry higher risk. Should only be attempted by experienced mechanics on appropriate MT rims with diligent ongoing monitoring.
Unsafe practices to avoid:
Using WM-type rims Exceeding pressure ratings Ignoring slow leaks Riding on underinflated tubeless tires Installing tube-type only tires without tubes
Modern OEM tubeless spoked wheels on premium motorcycles demonstrate the safety and reliability of proper systems. Manufacturers wouldn’t offer them if they weren’t confident in the technology.
Can I use tire sealant with traditional tube-type spoked wheels?
Yes. You can add sealant to tubes for puncture protection. This is different from tubeless conversion.
Process:
Partially inflate the tube Add appropriate sealant amount through the valve (special valve adapter usually needed) Fully inflate
Benefits:
Helps seal small punctures in the tube Can prevent flats from thorns and small debris Affordable improvement to tube reliability
Limitations:
Doesn’t prevent pinch flats — sealant can’t fix a tube that got pinched between tire and rim Still requires tube removal for major punctures Sealant in tubes is messy if you need to do a major repair Not as effective as true tubeless system
Products:
Slime tube sealant, Stan’s tubes (pre-filled with sealant), various tube sealants available at auto and motorcycle shops.
Important: This is NOT tubeless conversion. You’re still running tubes. You’ve just added puncture protection to the tube itself.
For true tubeless benefits, you need proper tubeless rims and tubeless installation.
How often should I check tire pressure on tubeless spoked wheels?
Recommended frequency:
Weekly minimum for regular riding Daily before long trips or adventure rides After significant temperature changes (seasonal shifts, altitude changes, extreme weather)
Why frequent checking matters:
Small leaks can develop over time Sealant effectiveness decreases as it dries Temperature significantly affects pressure (10°F change ≈ 1 PSI change) Early detection prevents rim damage or bead unseating
Best practice: Install TPMS (Tire Pressure Monitoring System) for real-time monitoring. Invaluable for travel and adventure riding. You’ll see pressure changes immediately.
Acceptable pressure loss:
1-2 PSI per week is normal with a healthy seal More than 5 PSI per week indicates an issue needing attention
Always check pressure when cold (before riding) for accurate reading. Tires warm up during riding and pressure increases. Hot readings are misleading.